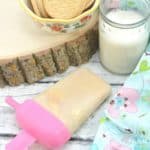
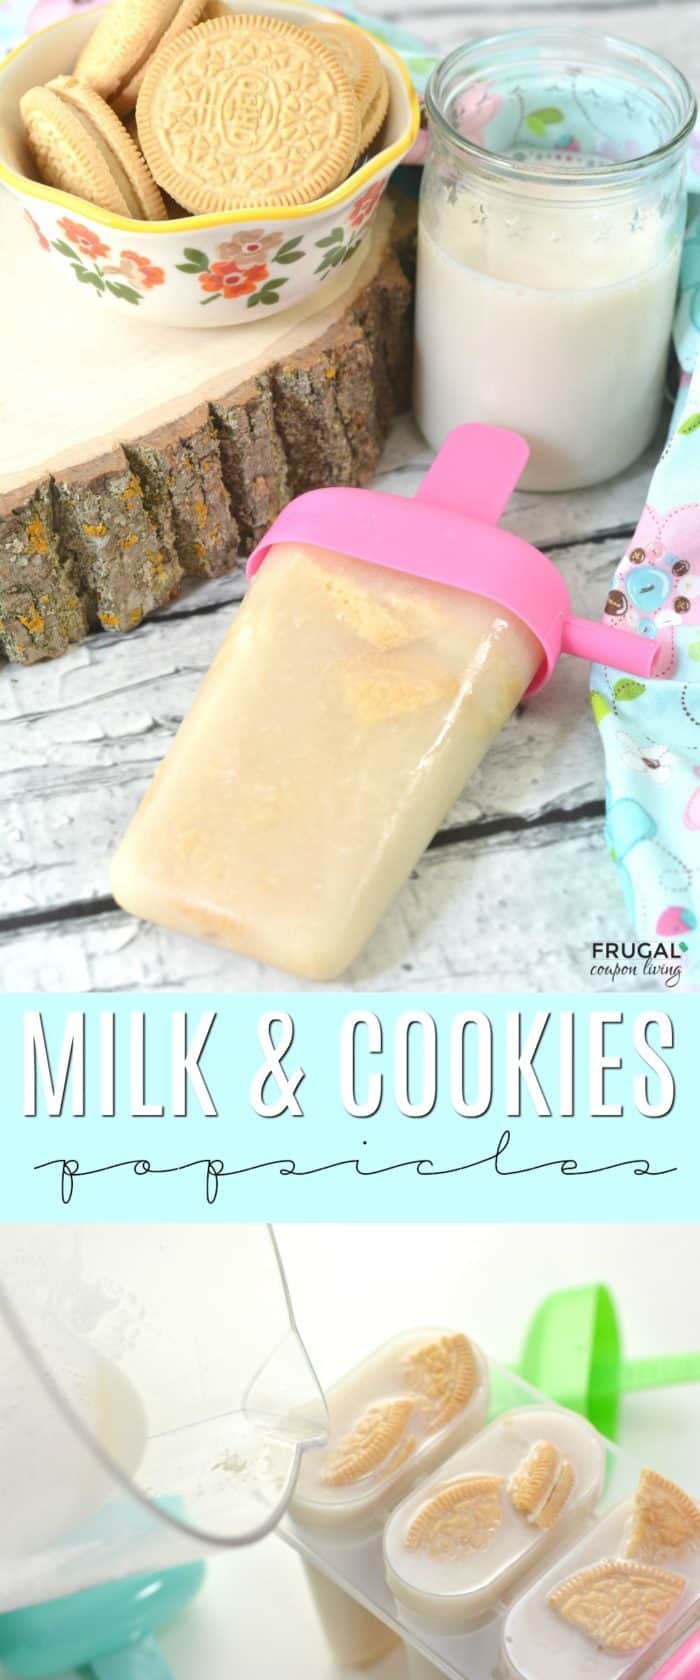
Everyone’s favorite dessert, milk and cookies, twisted into a cool tasty treat – Milk and Cookies Popsicles featuring Golden OREOs.
Milk and Cookies Popsicles


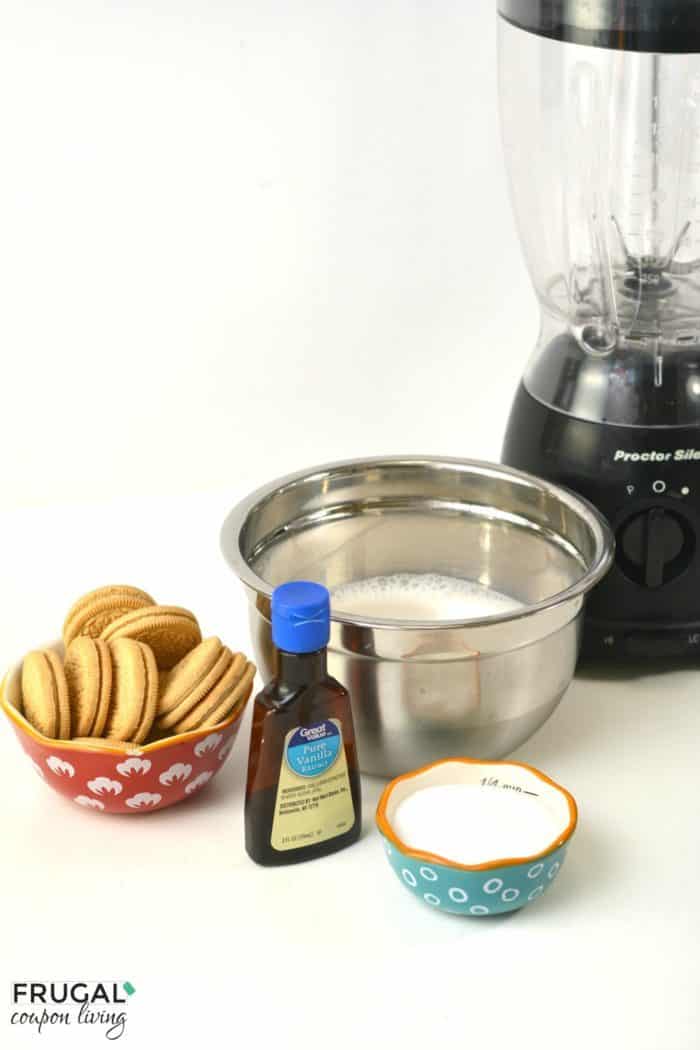
We twisted everyone’s favorite dessert into a yummy treat, Milk and Cookies Popsicles! This Popsicle recipe features Golden OREOs. We did not use whole milk in this recipe, we used our secret ingredient Almond Milk. We make a lot of smoothies in our home, so Almond Milk is a pretty common staple ingredient for us. To add more flavor, we included sugar and vanilla extract. If you need a Popsicle mold, these are like the molds we used.
Enjoy!
Ingredients:
- 2 cups Unsweetened Vanilla Almond milk
- ¼ cups Sugar
- 2 tsp. Vanilla Extract
- Golden OREOs
- Popsicle molds – these are like the molds we used, but they have many more options!
Directions:
- Pour two cups of unsweetened vanilla almond milk into a blender.
- Add in ¼ cup of sugar.
- Mix in 2 teaspoons of vanilla.
- Blend until the mixture is well combined.
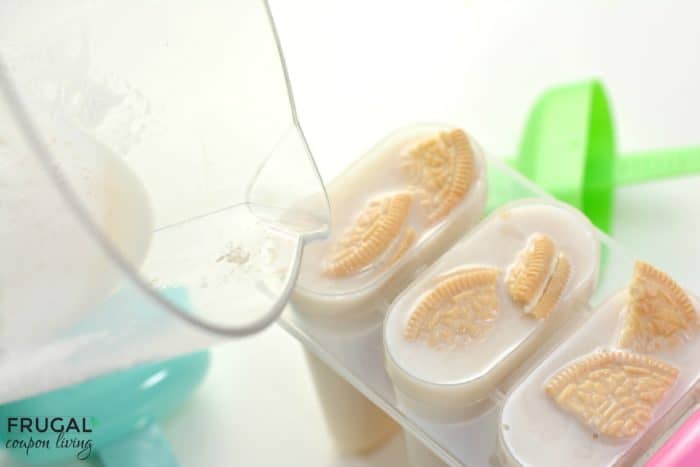
- Place one whole Golden Oreo into the bottom of each Popsicle mold.
- Break another Golden Oreo into fourths, and layer it the rest of the way to the top of each Popsicle mold.
- Pour your Popsicle mixture into each mold to fill it to the top.
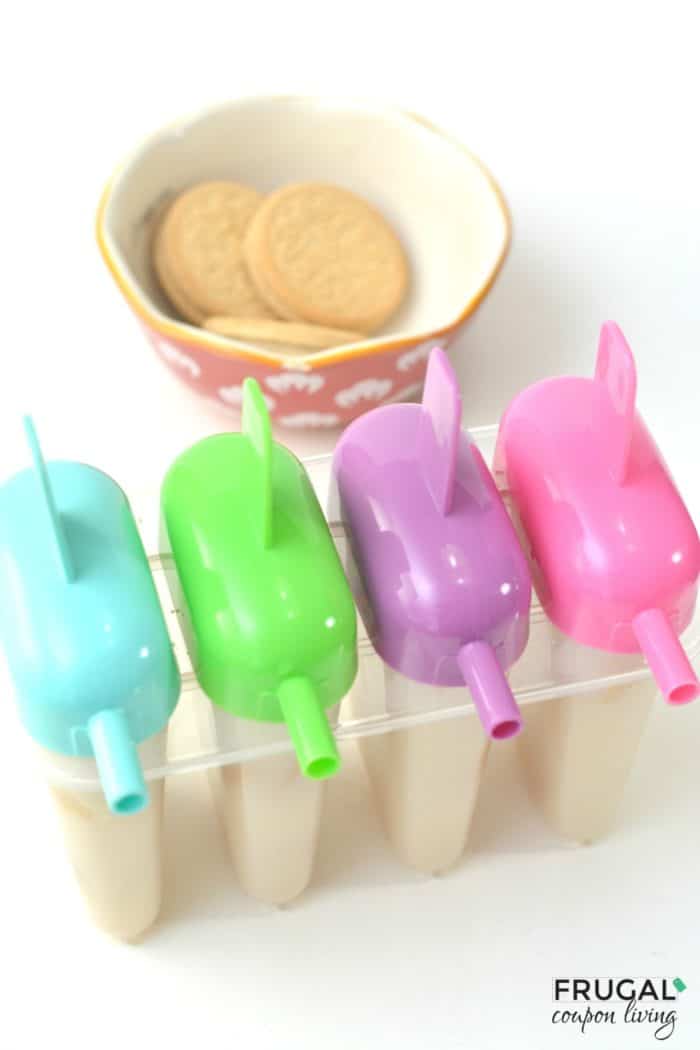
- Place the tops on each of the Popsicle molds.
- Put the Popsicles in the freezer for at least 5 hours.
- When ready to serve, you can loosen the Popsicle in the molds with some warm running water.
Milk and Cookies Popsicles
Ingredients
- 2 cups Unsweetened Vanilla Almond milk
- ¼ cups Sugar
- 2 tsp. Vanilla
- Golden OREOs
- Popsicle molds
Instructions
- Pour two cups of unsweetened vanilla almond milk into a blender.
- Add in ¼ cup of sugar.
- Mix in 2 teaspoons of vanilla.
- Blend until the mixture is well combined.
- Place one whole Golden Oreo into the bottom of each Popsicle mold.
- Break another Golden Oreo into fourths, and layer it the rest of the way to the top of each Popsicle mold.
- Pour your Popsicle mixture into each mold to fill it to the top.
- Place the tops on each of the Popsicle molds.
- Put the Popsicles in the freezer for at least 5 hours.
- When ready to serve, you can loosen the Popsicle in the molds with some warm running water.
Everyone's favorite dessert, milk and cookies, twisted into a cool tasty treat - Milk and Cookies Popsicles featuring Golden OREOs. #FrugalCouponLiving

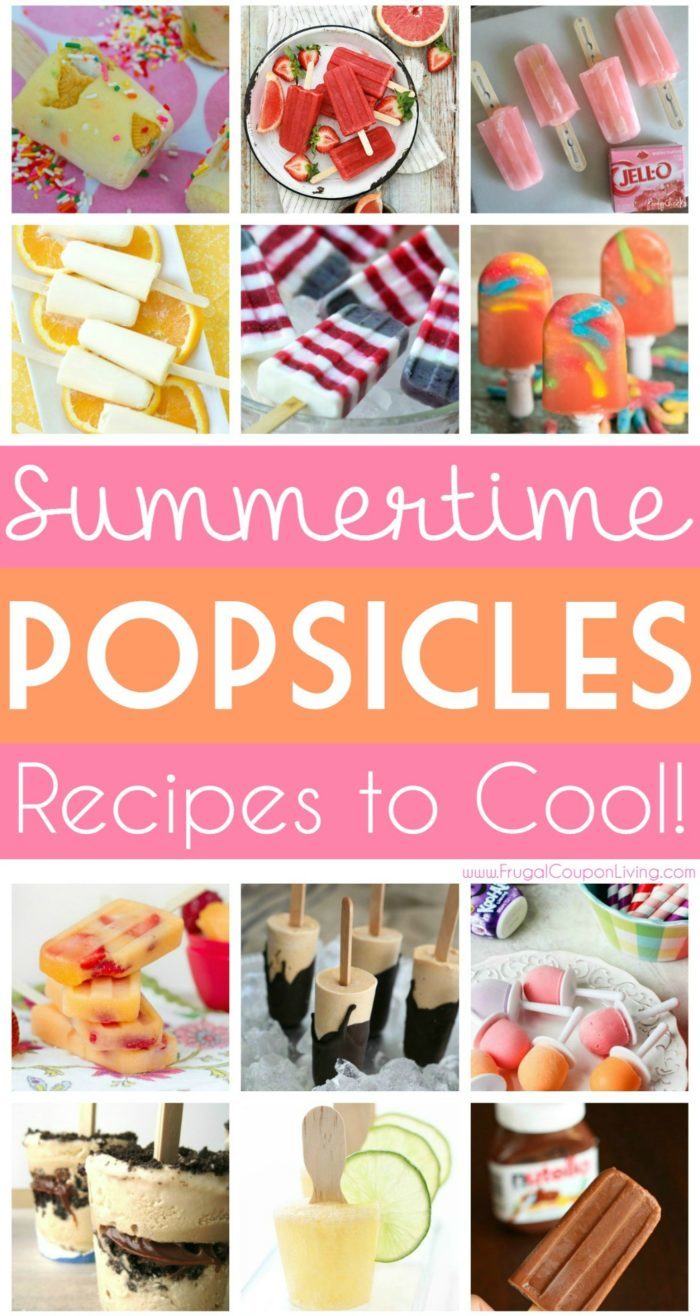
Hey Popsicle lovers! You will want to see the other Popsicle Ideas, Summertime Popsicle Recipes. Pin to Pinterest.
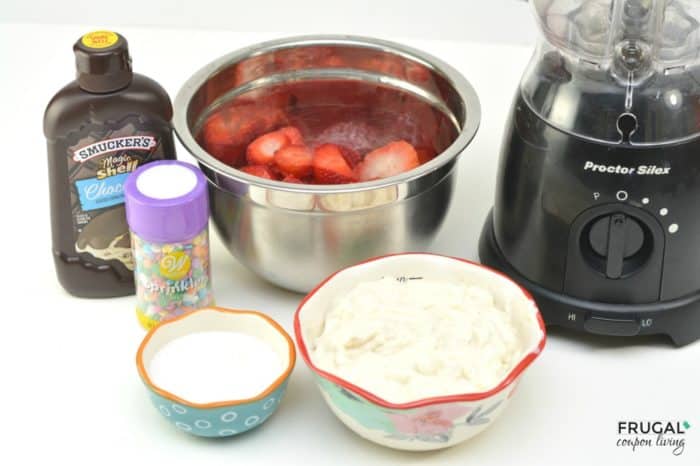
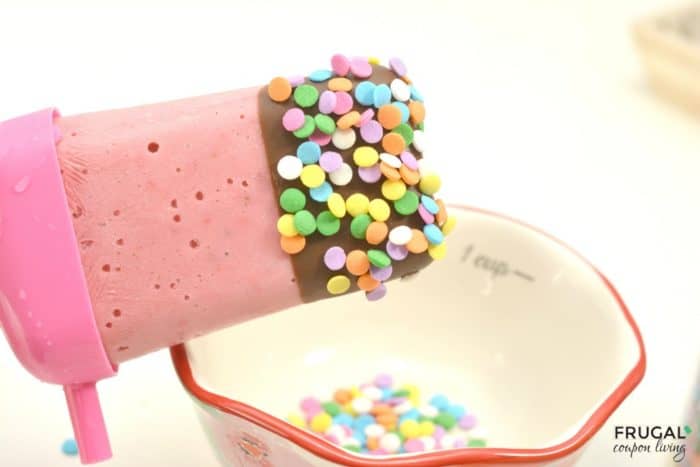
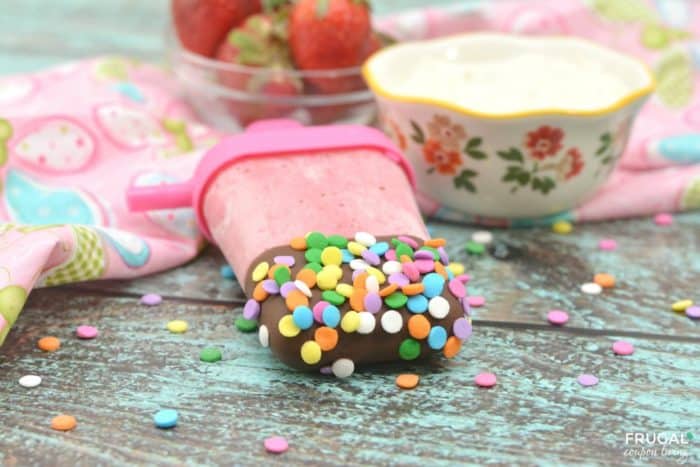
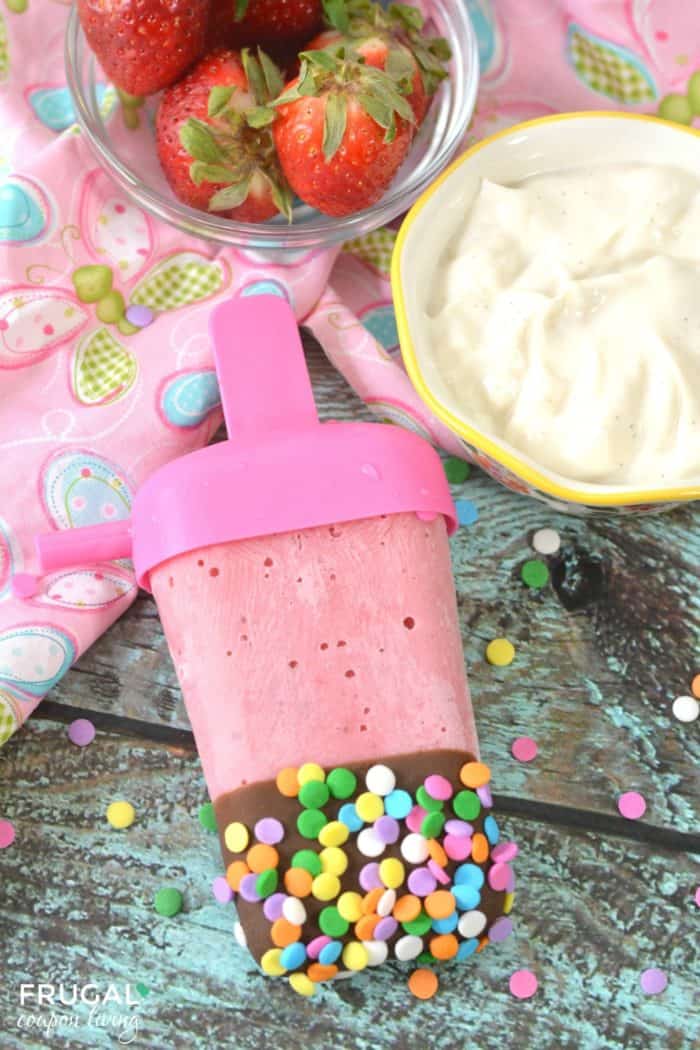
Enjoy our Chocolate Covered Strawberry Popsicles. Pin to Pinterest.
Also take a look at this cookie recipe – Cookie Skillet! Pin to Pinterest.


WHAT’S TRENDING? Looking for a few engaging activities? Grab Minute to Win it Games – Traditional, Holiday, Group, and more! Use these fun activities in the office, classroom, or at your next birthday party.