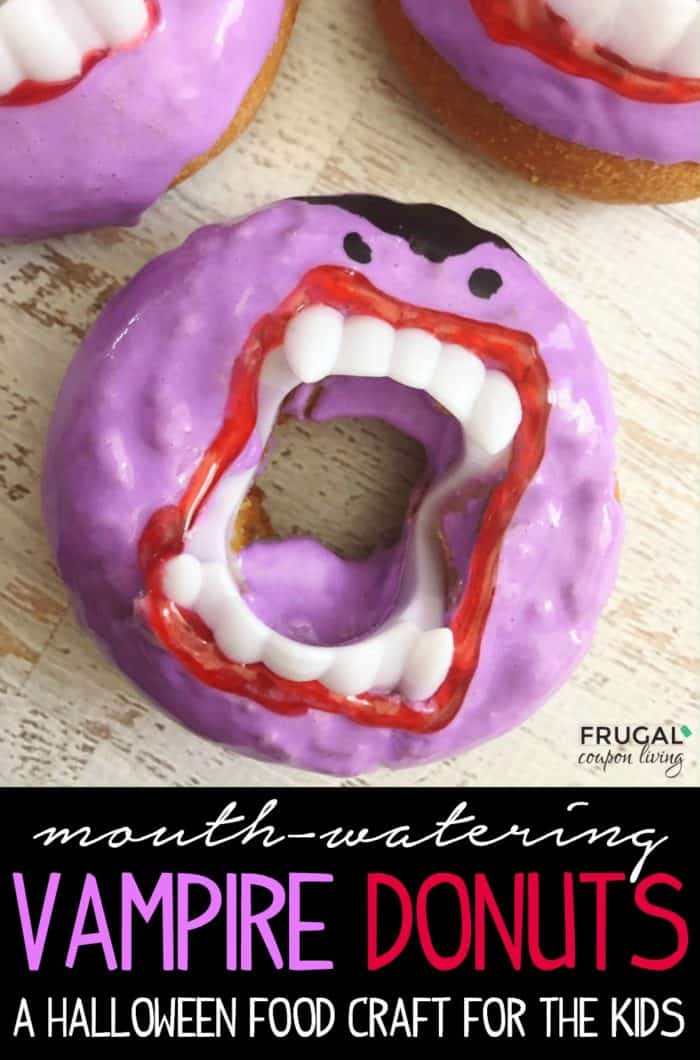
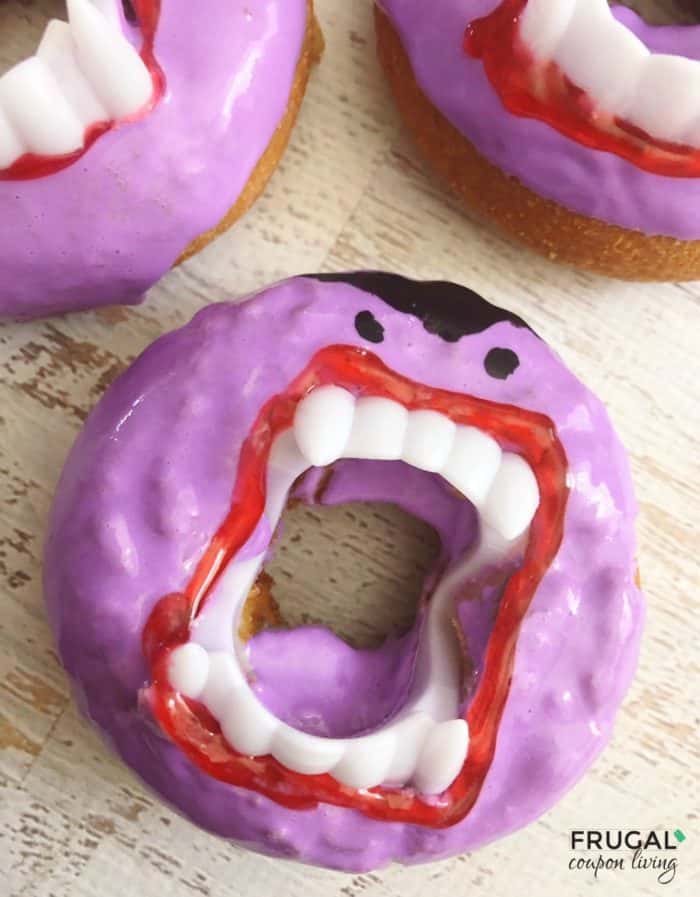
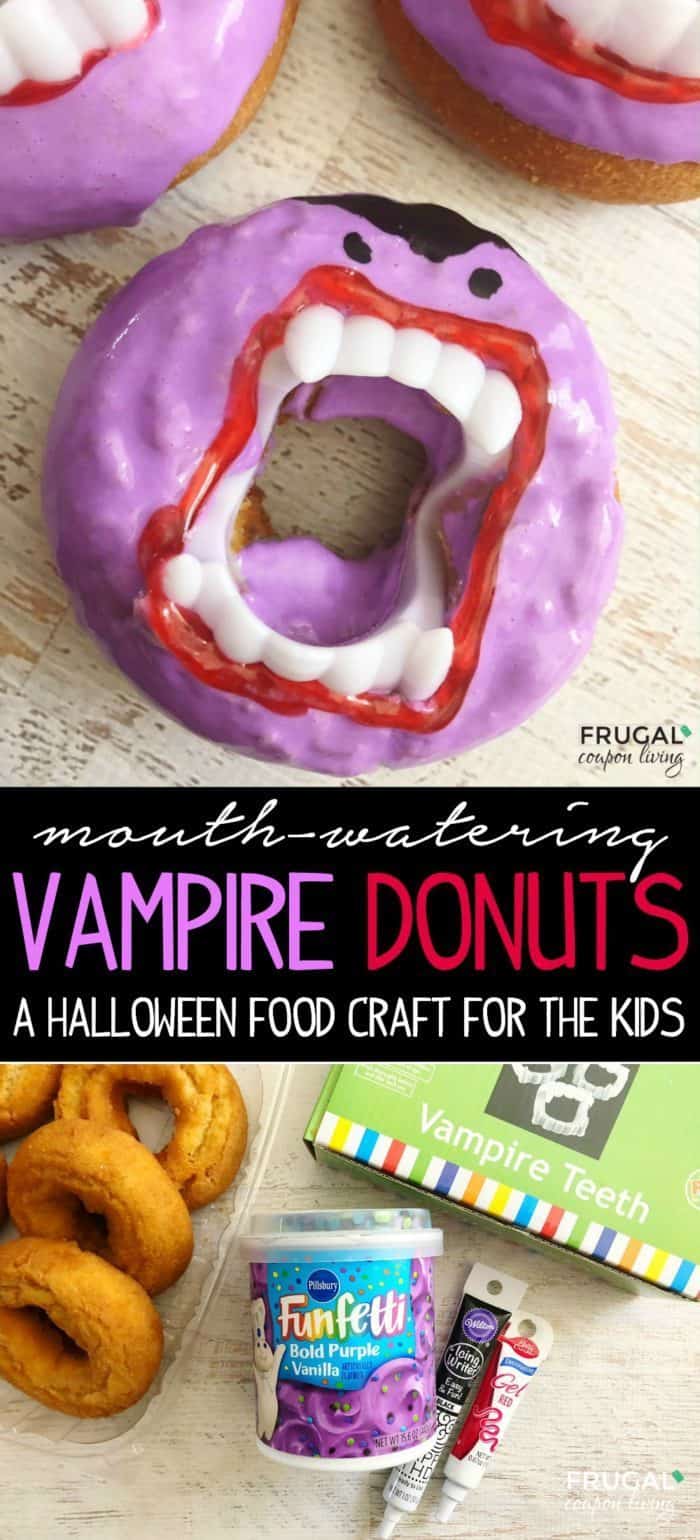
We have the cutest Dracula food craft for you this fall season. These Vampire Halloween Donuts will have anyone craving a mouth-watering bite of this tasty Halloween doughnut. I want to suck… that icing!
Mouth-Watering Vampire Halloween Donuts

I seriously love planning Halloween for you all. I think some of my most creative posts cover Halloween (if I may pat myself on the back- ha ha!) I am not sure if it is the temperatures cooling off, the lull of creativity over summer, or the beginning of the seasons, but I love when Halloween season hits and I can come up with all these creative food crafts and Halloween decorations.
This week we wanted to bring to you these very creative Halloween Food Crafts – Dracula Donuts. Speaking of donuts, I had to do some research among my friends – how do you spell donuts? Donuts or Doughnuts? I do it both ways so you will see me interchange the words in the post, but the majority of the vote spelled it donuts – we all blame Dunkin Donuts for the evolution of the word. Dictionary.com prefers doughnuts…. I digress.
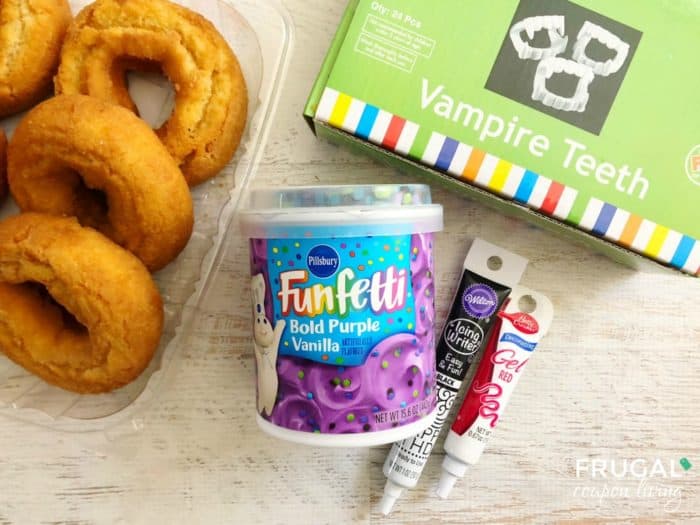
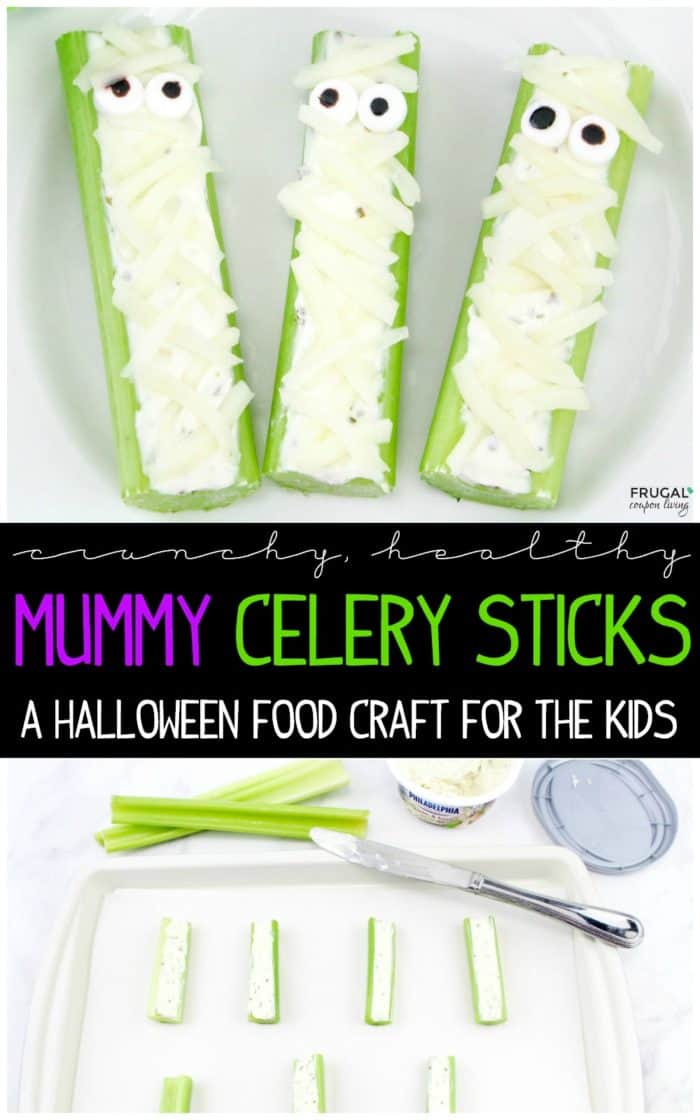
Back to our tasty Halloween treats. I especially loved this recipe, because it is easy and you can create these adorable vampires in a matter of minutes. In addition to doughnuts (we just picked up some pre-made cake doughnuts at the grocery store but Krispy Kreme would be a great idea too), you will need a few supplies. Fake vampire teeth are a must. We picked up two dozen for around $5 – a pretty good deal to me! Also grab 1 container of purple frosting, red gel icing, and black icing. I think a black gel tube or a black icing writer would be best for this, as well, to properly shape the hairline. We used black dots for the eyes because I had no candy eyes in my pantry but I have always loved the Wilton Candy Eyes when doing food crafts. They were really cute on our Halloween Jalapeno Popper Mummies.
Enjoy your tasty vampires!

Dracula Halloween Donuts | Vampire Food Craft
Description
We have the cutest Dracula food craft for you this fall season. These Vampire Halloween Donuts will have anyone craving a mouth-watering bite of this tasty Halloween doughnut. I want to suck… that icing!
Ingredients
- 12 donuts
- 1 container of purple frosting
- Red gel icing
- Black icing
- Fake vampire teeth
Instructions
- Lay out a piece of parchment paper.
- Add one cup of frosting to a small bowl and heat for 15 seconds in the microwave.
- Dip the top of each doughnut into the melted frosting, let any excess drip off and place into your parchment paper.
- Transfer the donuts to the freezer for 15 minutes.
- Squeeze your vampire teeth together and place into the center of the donuts.
- Use your red gel icing to squeeze around the teeth.
- Use your black icing to draw eyes and a pointed hairline.

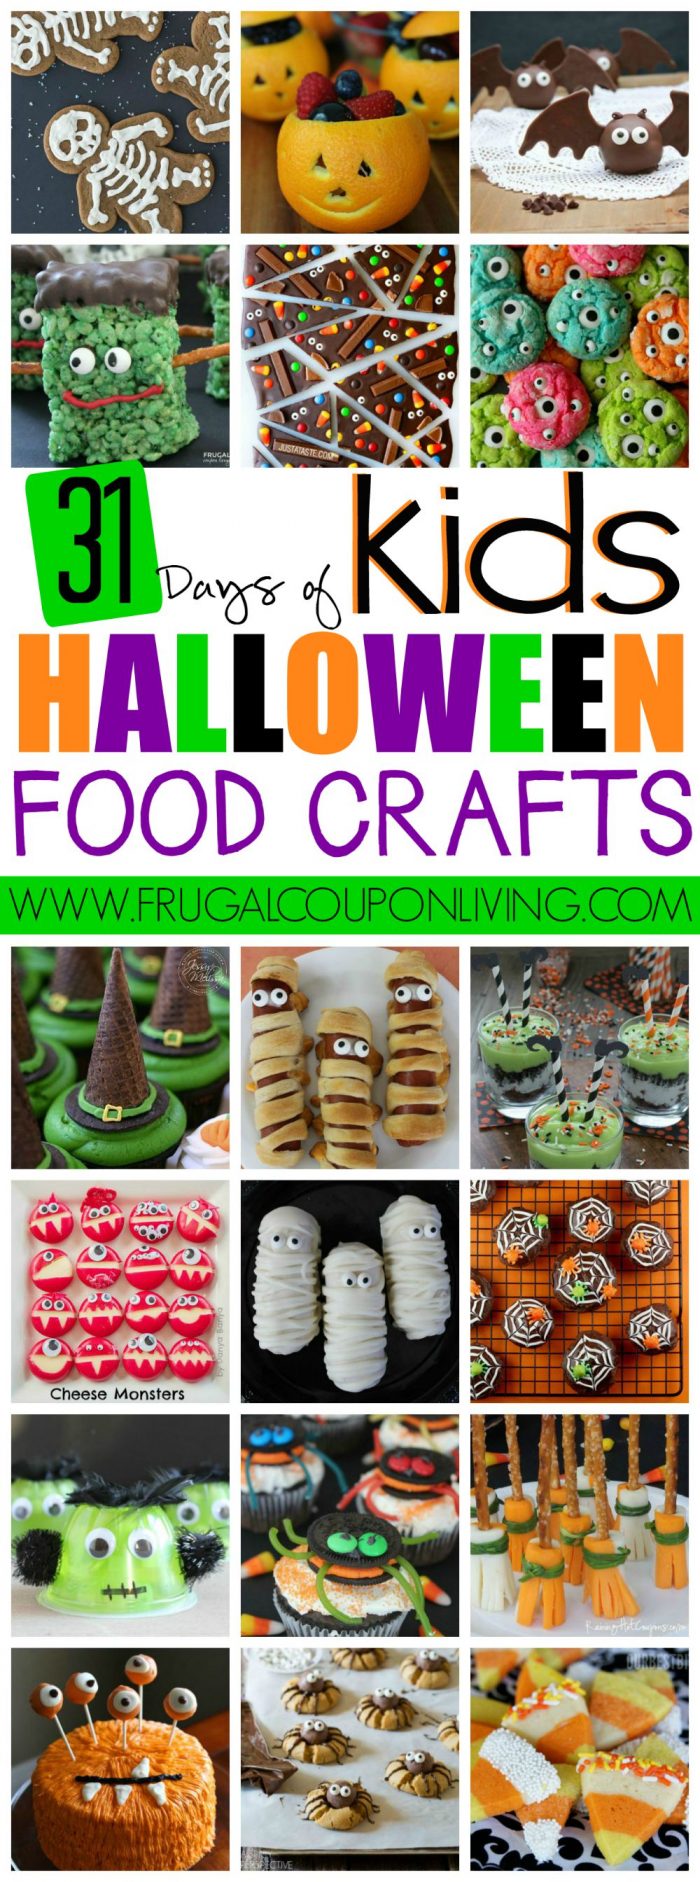
Since you are inspired, take a look at these other 31+ Days of Halloween Food Crafts. Pin to Pinterest.
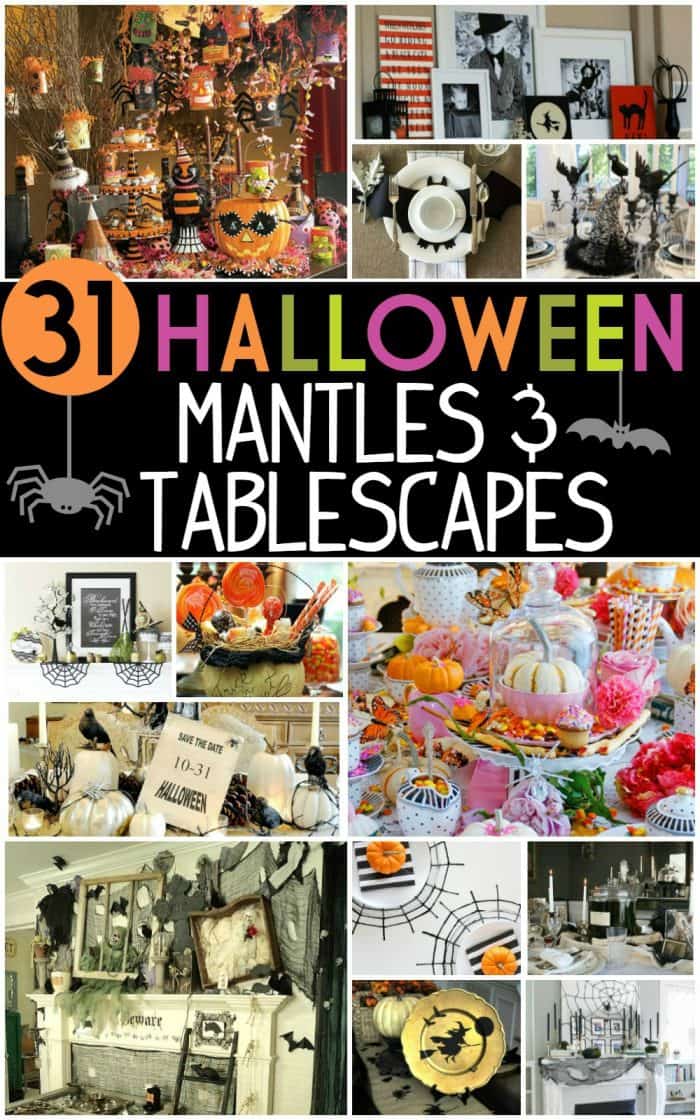
Hosting a party? We had fun with these 31 Inspiring Halloween Mantles and Tablescapes. Pin to Pinterest.
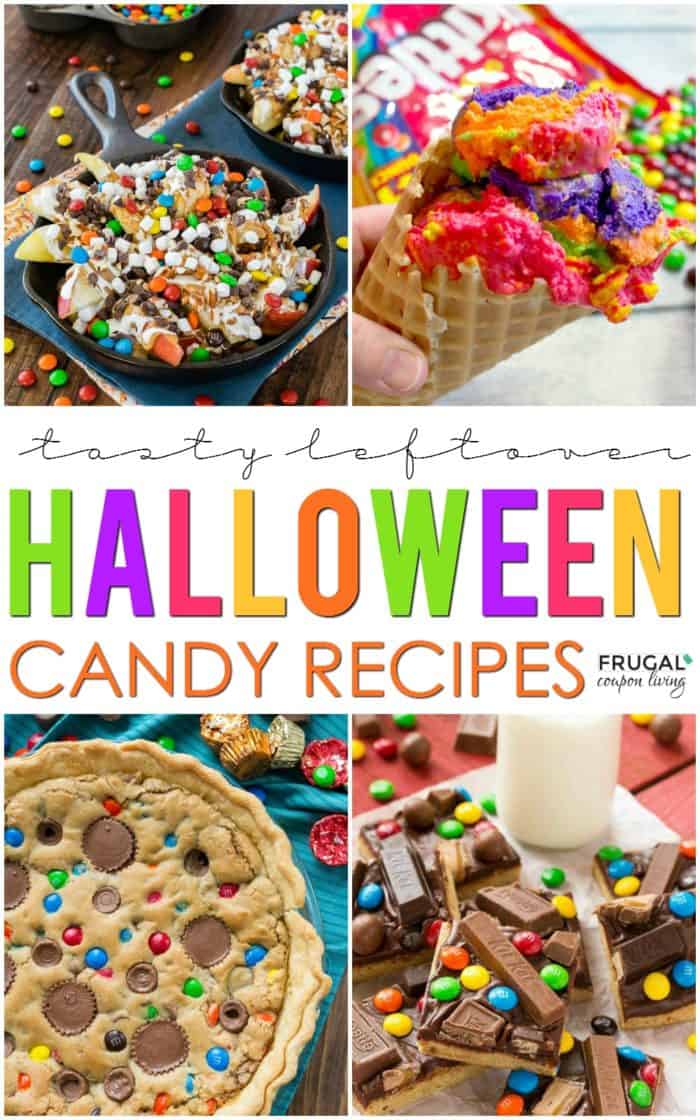
Leftover Halloween Candy? Make these Leftover Halloween Candy Recipes. Pin to Pinterest.

WHAT’S TRENDING? Looking for a few engaging activities? Grab Minute to Win it Games – Traditional, Holiday, Group, and more! Use these fun activities in the office, classroom, or at your next birthday party.