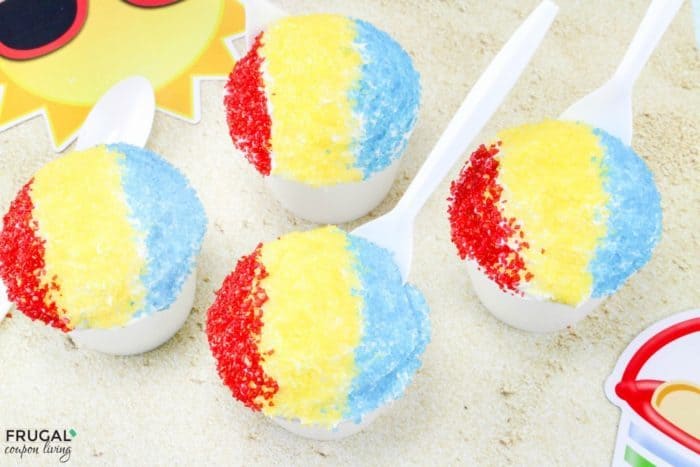
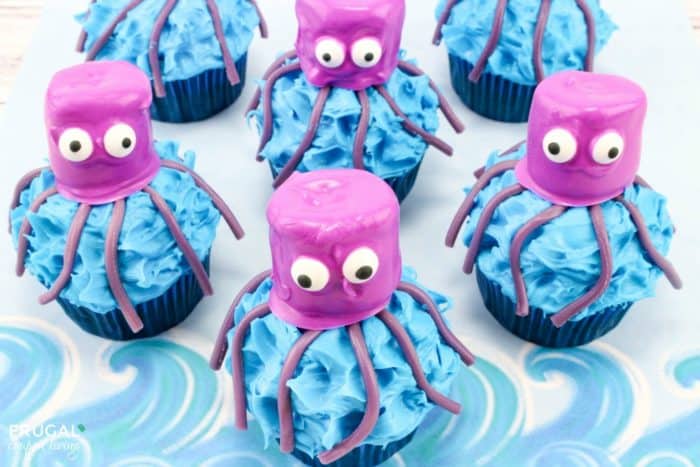
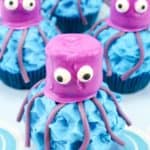
We have quick and easy giant squid cupcakes for your next beach party. Eight adorable legs, two giant eyes, and a fluffy head make this octopus dessert one easy food craft for the kids.
Giant Squid Cupcakes


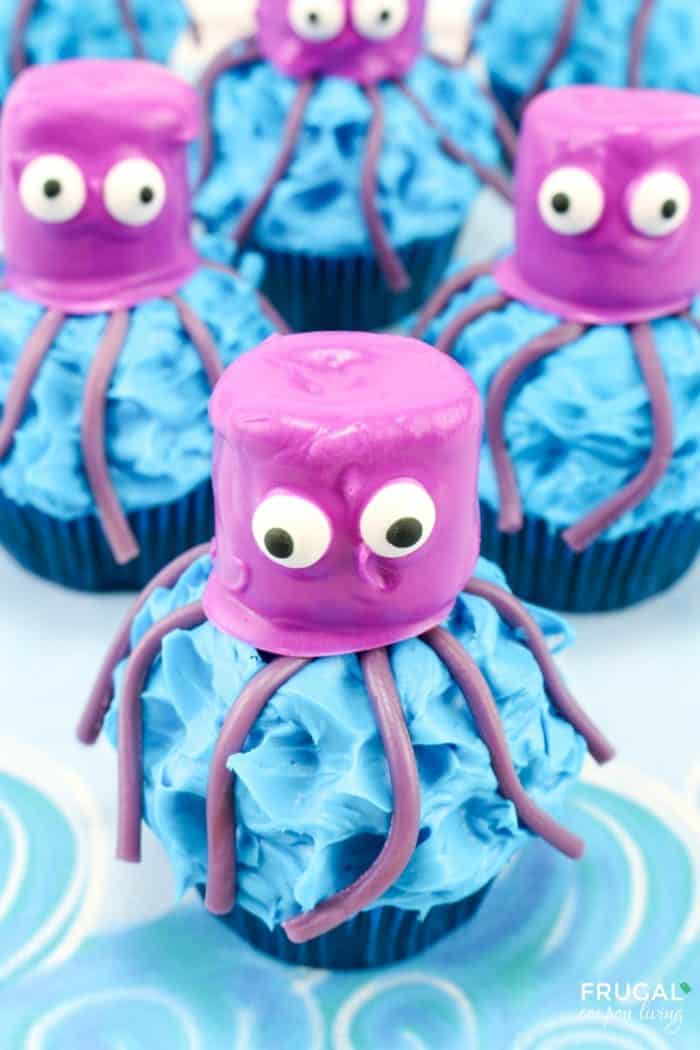
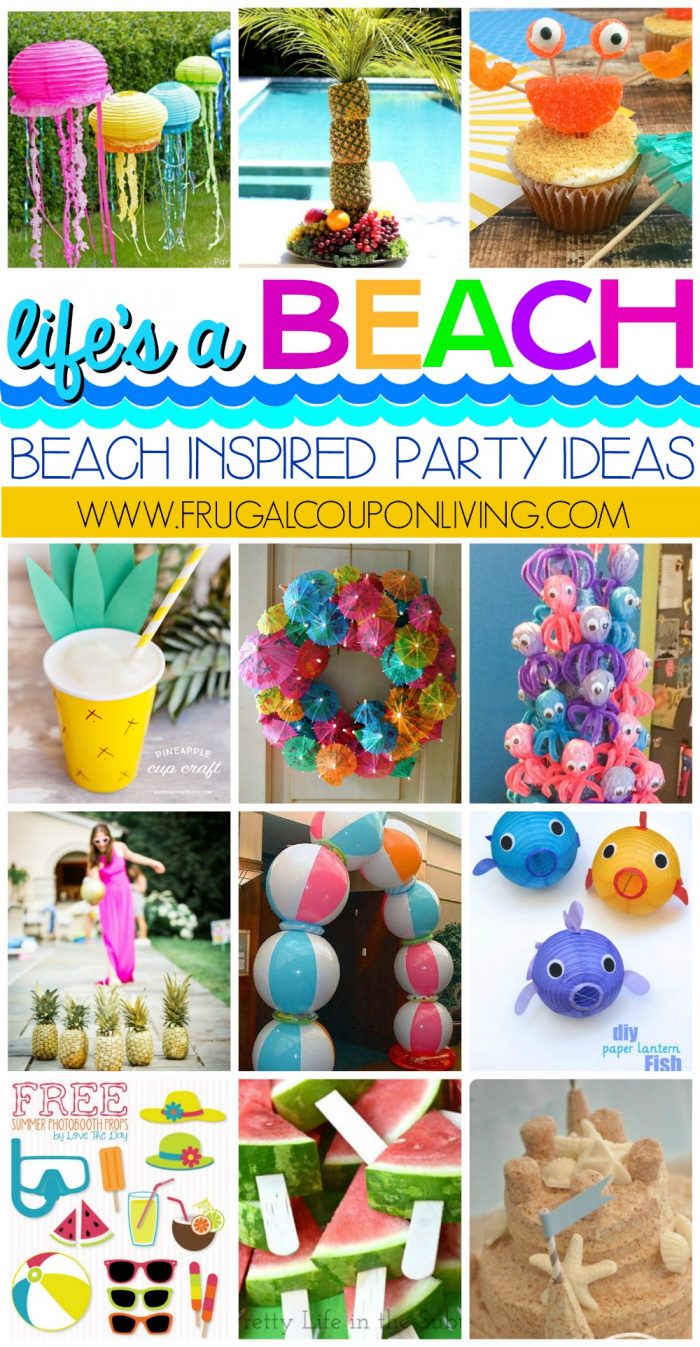
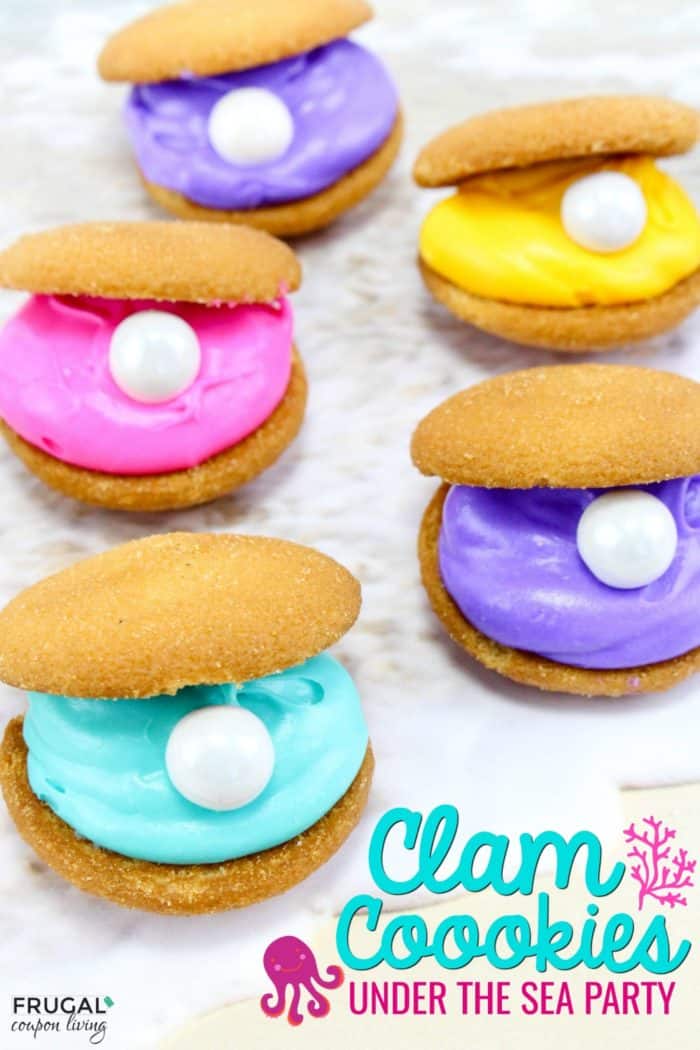
Hosting a beach party? Our Beach Inspired Party Ideas have gone so well we wanted to share with you some more food ideas for your celebration. Recently we shared with you our Clam Cookies and Mermaid Party Ideas, so today we thought it would be fun to have another festive under the sea dessert.
Take a look at these adorable giant squid cupcakes. If you are looking for cute cupcake liners, we are a pretty big fan of these blue cupcake liners but if these Wilton Blue Ombre Cupcake holders ever return, we suggest grabbing those.
This food craft was very easy and can be used for the kids. Our cupcakes were prebaked (do while the kids are in school if you want – you might just get to lick the bowl by yourself). You can also pick up unfrosted cupcakes at many local grocery stores. Just ask the bakery department.
The prep time and creative time is minimal and you can have this cupcake craft out in minutes. Our recipe yields 6 cupcakes, but obviously multiply as you need!

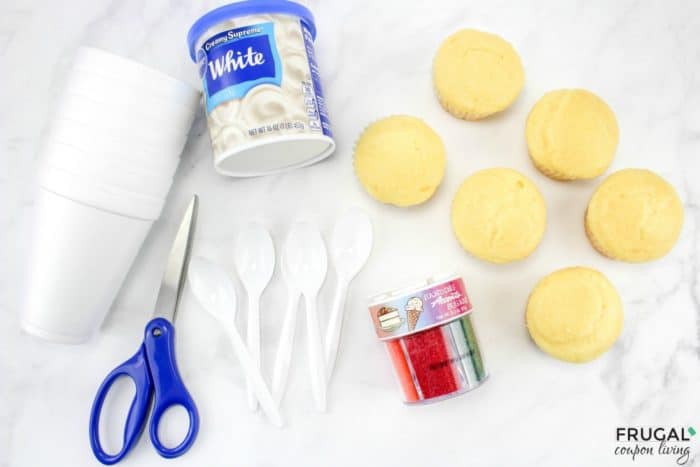
Supplies:
- 6 Prepared Cupcakes, unfrosted
- 1 Can Blue Frosting
- 1 pkg. Twizzlers Pull N’ Peel Licorice—fruit punch flavor
- 6 Large Marshmallows
- 8 oz. Chocolate Melts, Purple
- 12 Edible Candy Eyes
Giant Squid Cupcakes | A Beach Party Dessert Idea
- Prep Time: 15
- Total Time: 15 minutes
- Yield: 6 1x
Description
We have quick and easy giant squid cupcakes for your next beach party. Eight adorable legs, two giant eyes, and a fluffy head make this octopus dessert one easy food craft for the kids.
Ingredients
- 6 Prepared Cupcakes, unfrosted
- 1 Can Blue Frosting
- 1 pkg. Twizzlers Pull N’ Peel Licorice in fruit punch flavor
- 6 Large Marshmallows
- 8 oz. Chocolate Melts, Purple or Red (we used purple)
- 12 Edible Candy Eyes
Instructions
- In a small bowl, melt the purple chocolate per package directions.
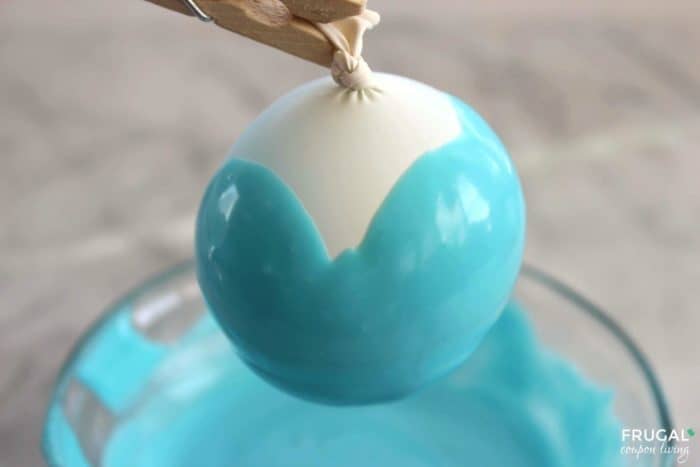
- Poke a toothpick into a marshmallow and dip into the chocolate until fully covered. This will make your head.
- Set the marshmallow down on a parchment lined baking sheet and remove the toothpick. Repeat this for all the heads/marshmallows.
- Press two edible eyeballs on the front of each marshmallow before the chocolate hardens. Leave these set until the chocolate is hard and the eyes are set.
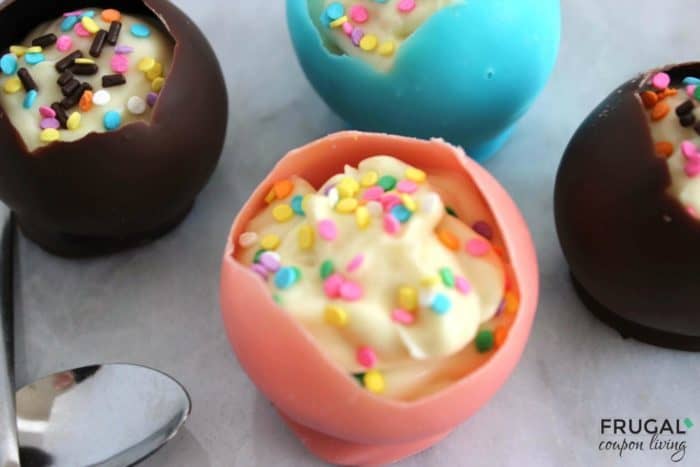
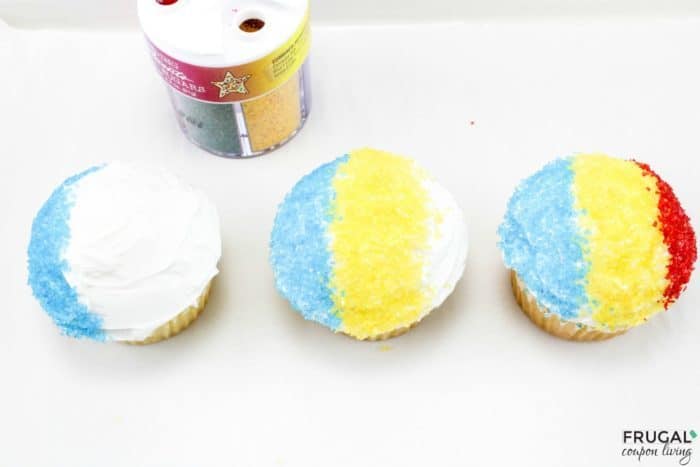
- Frost each cupcake with the blue frosting making sure to put extra in the middle so the frosting slopes downward a little. Take a butter knife, touch it all around the frosting, and gently pull up so the frosting will look like water waves.
- Take a rope of the licorice and cut into 4 pieces. Unwind the strings so you will have all the purple pieces separated. You will need 48 of these pieces for the squid legs.
- Lay 8 licorice legs over the top of each cupcake so they drape down over the frosting hanging off the edges a bit.
- Set an squid head on top of each cupcake right in the center over the tops of the legs. Press them down a bit so they stay on the cupcake and so it looks like the head is attached to the legs.
- These fun little cupcakes are easy to make and would be fun at any summer party!


Also get ideas from these these Beach Inspired Party Ideas. Pin to Pinterest on your Summer or Party Board.
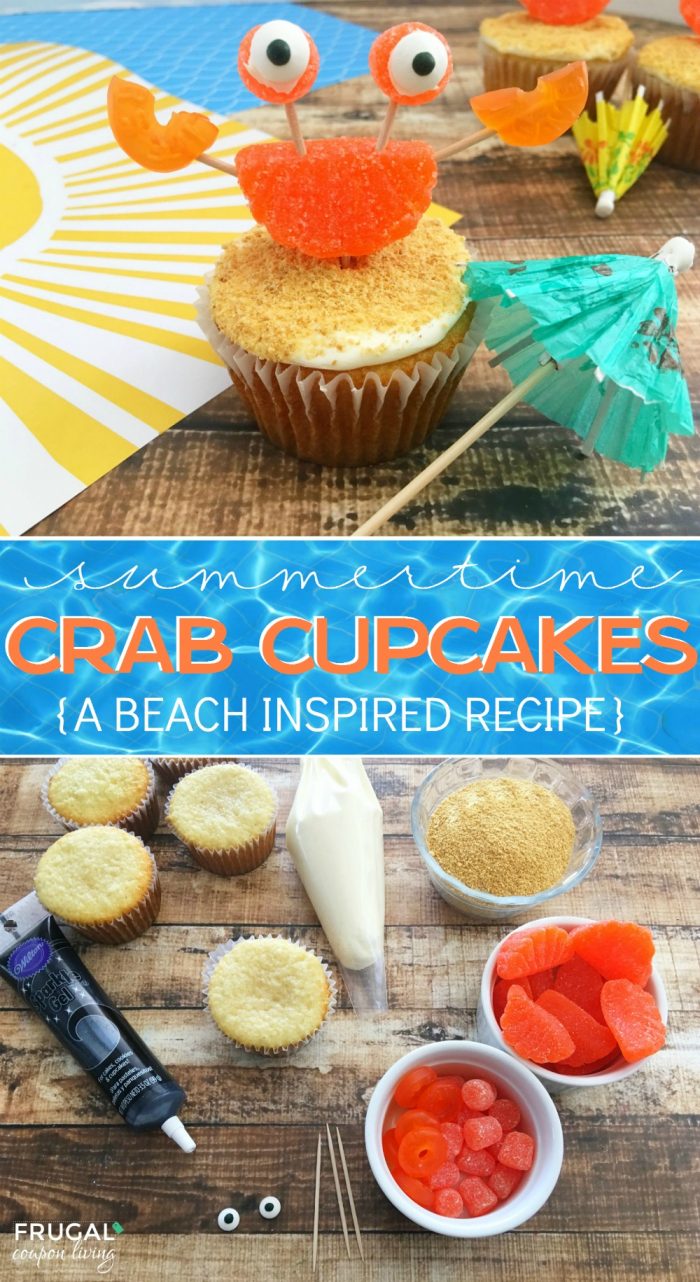
If you are hosting an under the sea party, take a look at these fun Summer Crab Beach Cupcakes! Pin to Pinterest on your Summer, Party or Dessert Boards.
Also make these Mermaid Party Clam Cookies (take a look at our Mermaid Party Ideas in that same post!) Pin to Pinterest.

WHAT’S TRENDING? Looking for a few engaging activities? Grab Minute to Win it Games – Traditional, Holiday, Group, and more! Use these fun activities in the office, classroom, or at your next birthday party.