How To Cut Vinyl on your Cricut machine with complete confidence! Cut vinyl in this step-by-step Cricut Design Space tutorial on Frugal Coupon Living.
How To Cut Vinyl in Cricut Design Space


The possibilities for creation with your Cricut machine is limitless. There is so much you can make for yourself, your family, and friends once you better understand how to use your machine.
Cutting and decorating with vinyl is no exception. This lightweight crafting material makes the perfect add-on to any decoration in your home, and today I’ll be showing you, step-by-step how to cut vinyl in Cricut Design Space.
How to Cut Vinyl in Cricut Design Space
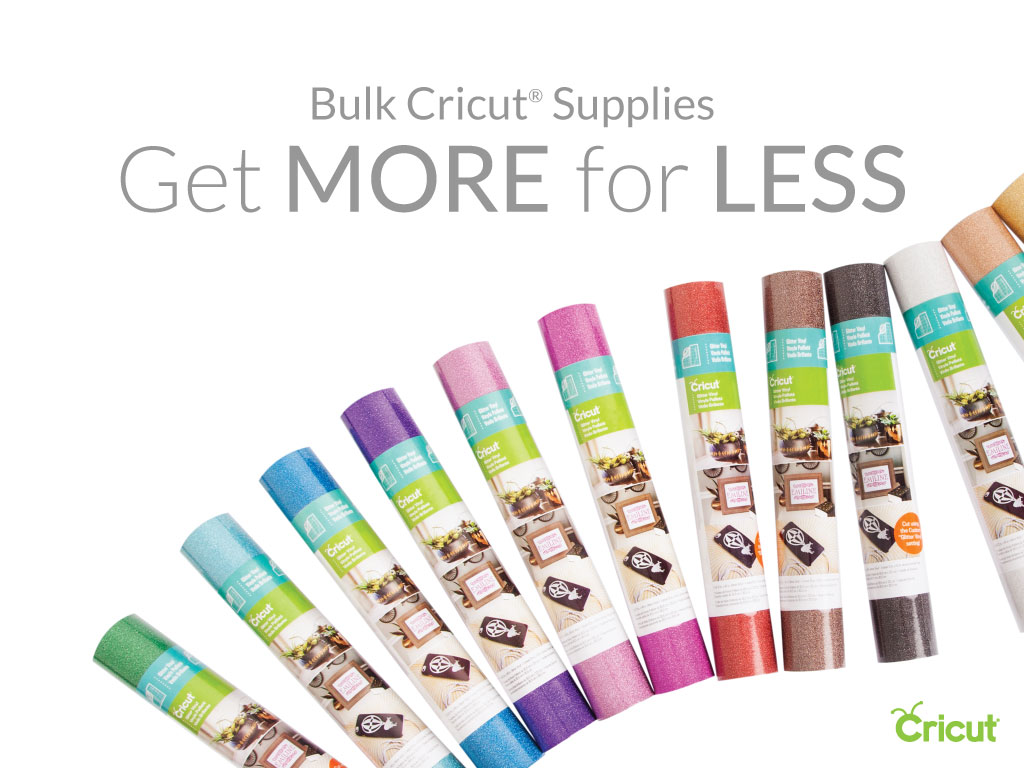
![]()
You’ll first want to connect your machine to your laptop or smartphone. Once your Cricut machine is connected, go ahead and log into Design Space and select “New Project.”

Most of the time when you create with vinyl you’re doing projects with text rather than shapes. For this tutorial, you’ll want to select the text button and type in the words you would like your Cricut machine to cut for your completed project.
Pro Tip: if you plan on using a phrase such as, “Our home is built on love” to add to your living room, and you know you want the words “home” and “love” to be a cute scripted font and the other words to be a standard font, then I recommend adding the words “home” and “love” together. Then add the words “our is built on” with the standard font you’d like to compliment your scripted font.
It’s perfectly okay if the phrase you want to use isn’t in a complete sentence in Design Space. You’ll be in charge of assembling the sentence after printing the words on the vinyl.
For the rest of this tutorial, we will use the word, “Queen” as an example.

After you type in the word you’d like to use your font in Design Space is a standard font. In order to change the font to meet your project’s standards, you’ll go to the top of your screen and select “fonts.”
You can either buy fonts from Cricut or if you’d like to use the fonts already on your computer (that are completely free) then select “systems” to change the style you’d like.

I love how Design Space will show you an example of what the font looks like before you select an option to give you a visual to meet your project’s needs.

Once you have your font chosen for your project, you’ll want to click on your main word and move the word on your screen so you can keep working on your project. This will allow you to add more words (if you’re wanting to design a cute quote).
Also, you’ll want to use the blue arrow in the bottom right corner to make your font bigger or smaller depending on your projects needs. This option is also available at the top of your screen, but I have found the blue arrow to be a faster option.

Once your word is the size you want, you’ll want to click on the word and look to the right side of your screen. Double check to make sure the font has the scissors for the “cut” option rather than the print, write, or text options also available to you. This is telling Design Space that you want your Cricut machine to “cut” this word.
Pro Tip: You can (and should) change the project color to match the color of the vinyl you’re using for your project. This is perfect and will help save your sanity when it comes time to cut on your Cricut machine. When you have multiple words and you change the color of each word, this tells your machine that you’ll need multiple “mats” or “cuts” for your project.
Would you like to save this?

Once you’re happy with your project you’ll select the green “make it” button in the top right-hand corner of your screen. You’ll also want to take the time to select the number of copies you’d like to make of your project and select “continue” in the bottom right hand corner.

Once your machine connects to your laptop or smartphone, go ahead and select the vinyl option from the list available. You’ll then want to place your vinyl on your cutting mat with the color facing up towards you.

Follow the cutting instructions on the Cricut machine by inserting your cutting mat, waiting for the machine to cut, and inserting additional colors of vinyl if needed.

Once all your vinyl for your project is cut, then apply to your object, whether you’re decorating your wall, a pillow, a mug, or anything else, and enjoy your new creation!
Do you have any questions on how to use your Cricut machine? What would you love to learn how to create? Leave a comment below and let me know!


Take a look at these Cricut Freebies – Tutorials for Your Cricut Projects. Pin to Pinterest.

We love our Cricut Monogram Tutorial. Pin to Pinterest.

Want Another Cricut Tutorial? Learn How to Add Your Own Images to Cricut Design Space. Pin to Pinterest.

Easy and Simplistic Tutorial on How to Make Stickers Using the Cricut Machine. Pin to Pinterest.

Print your Fonts into a Font Catalog – less than 5 minutes! Pin to Pinterest.


WHAT’S TRENDING? Looking for a few engaging activities? Grab Minute to Win it Games – Traditional, Holiday, Group, and more! Use these fun activities in the office, classroom, or at your next birthday party.
Last Updated on March 29, 2019 by Ashley at Frugal Coupon Living
[…] common sought after tutorial – How To Cut Vinyl in Cricut Design Space. Pin to […]