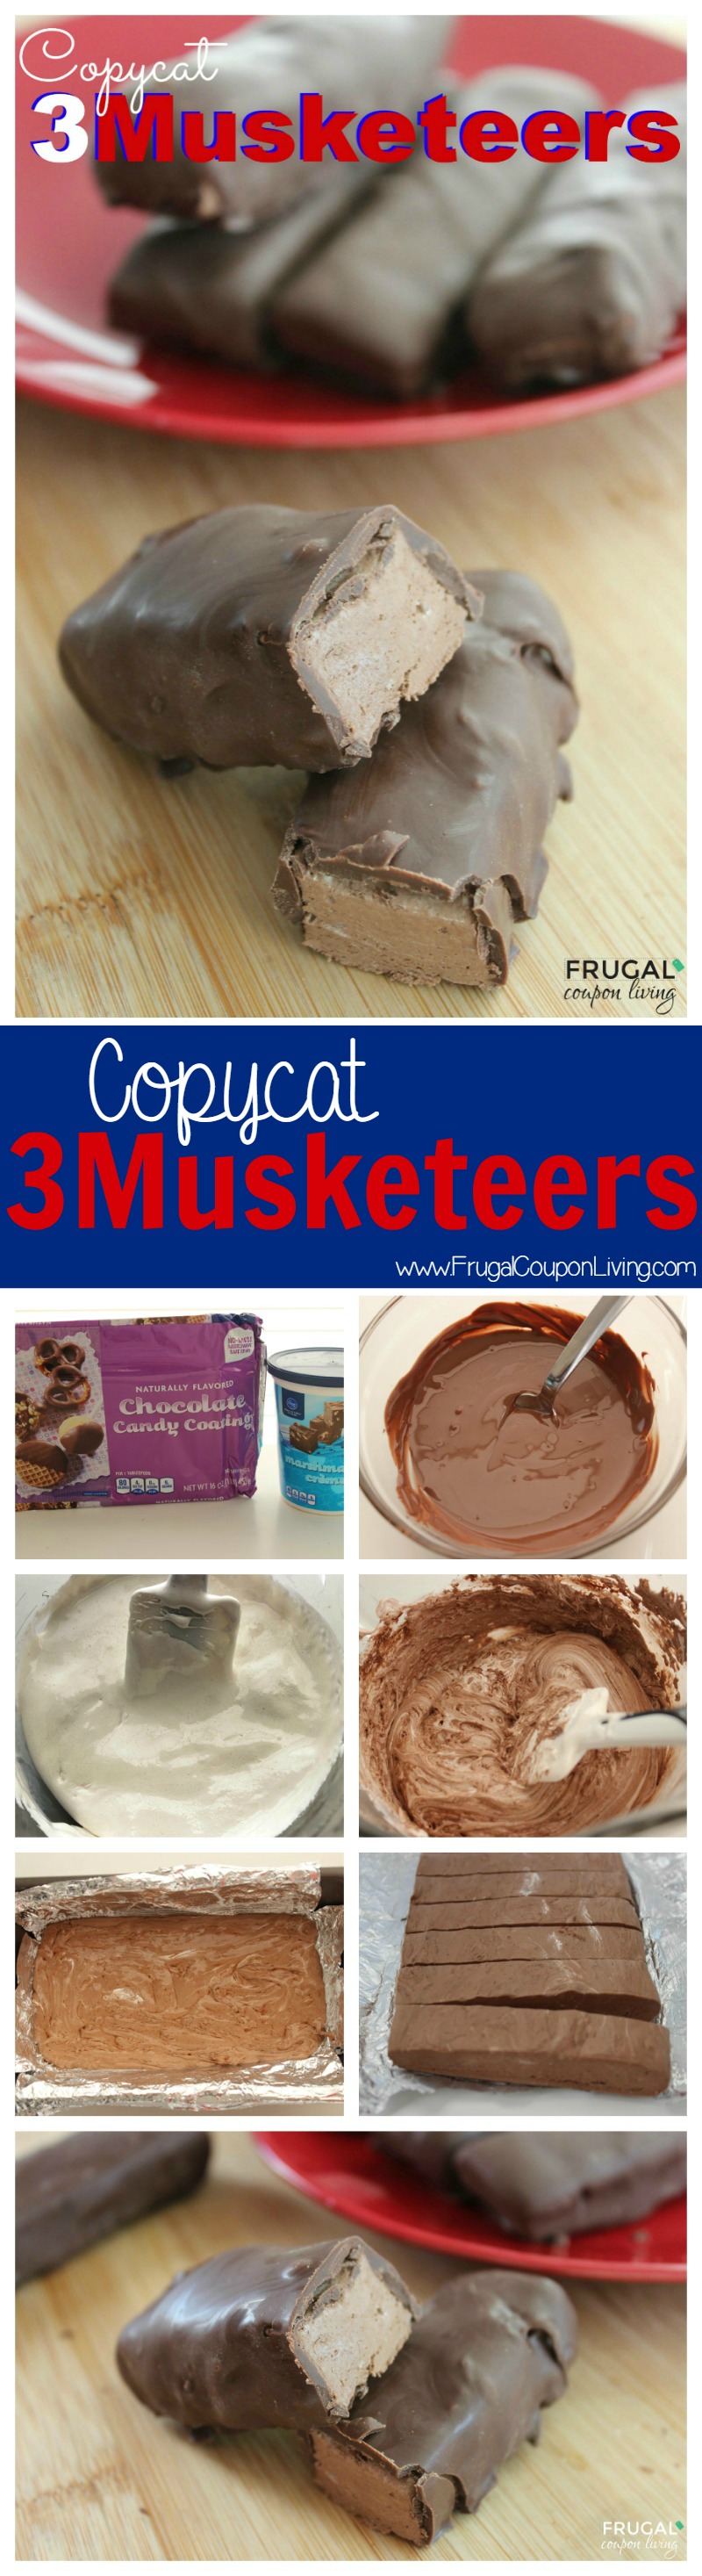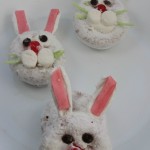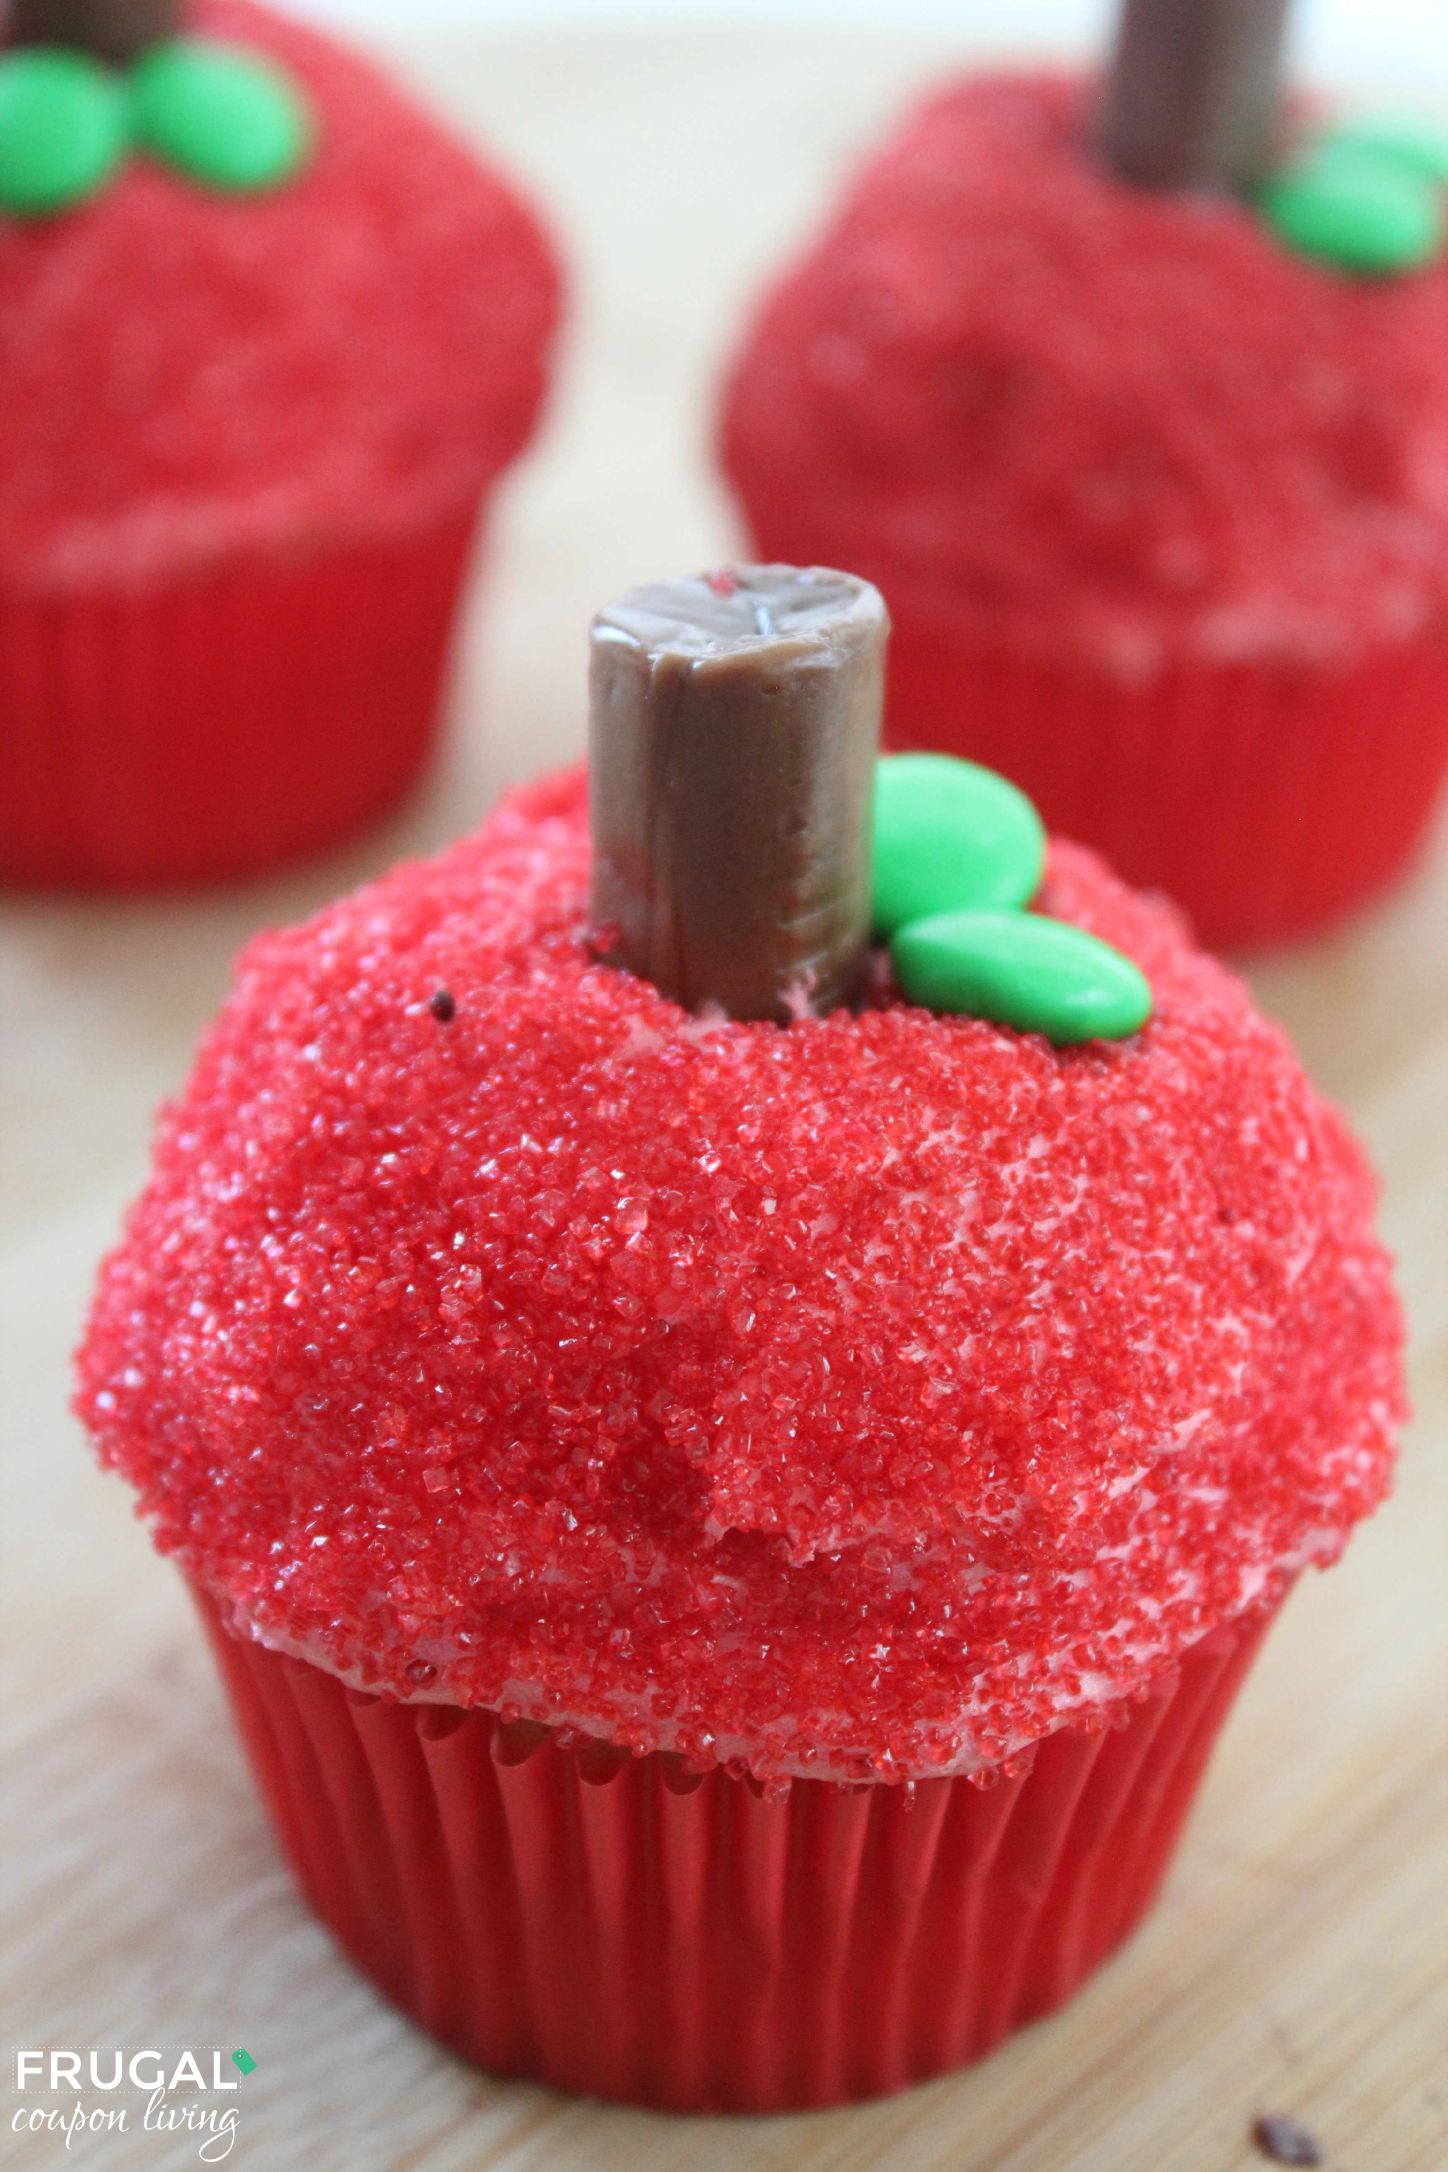
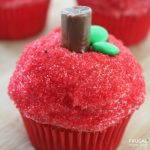
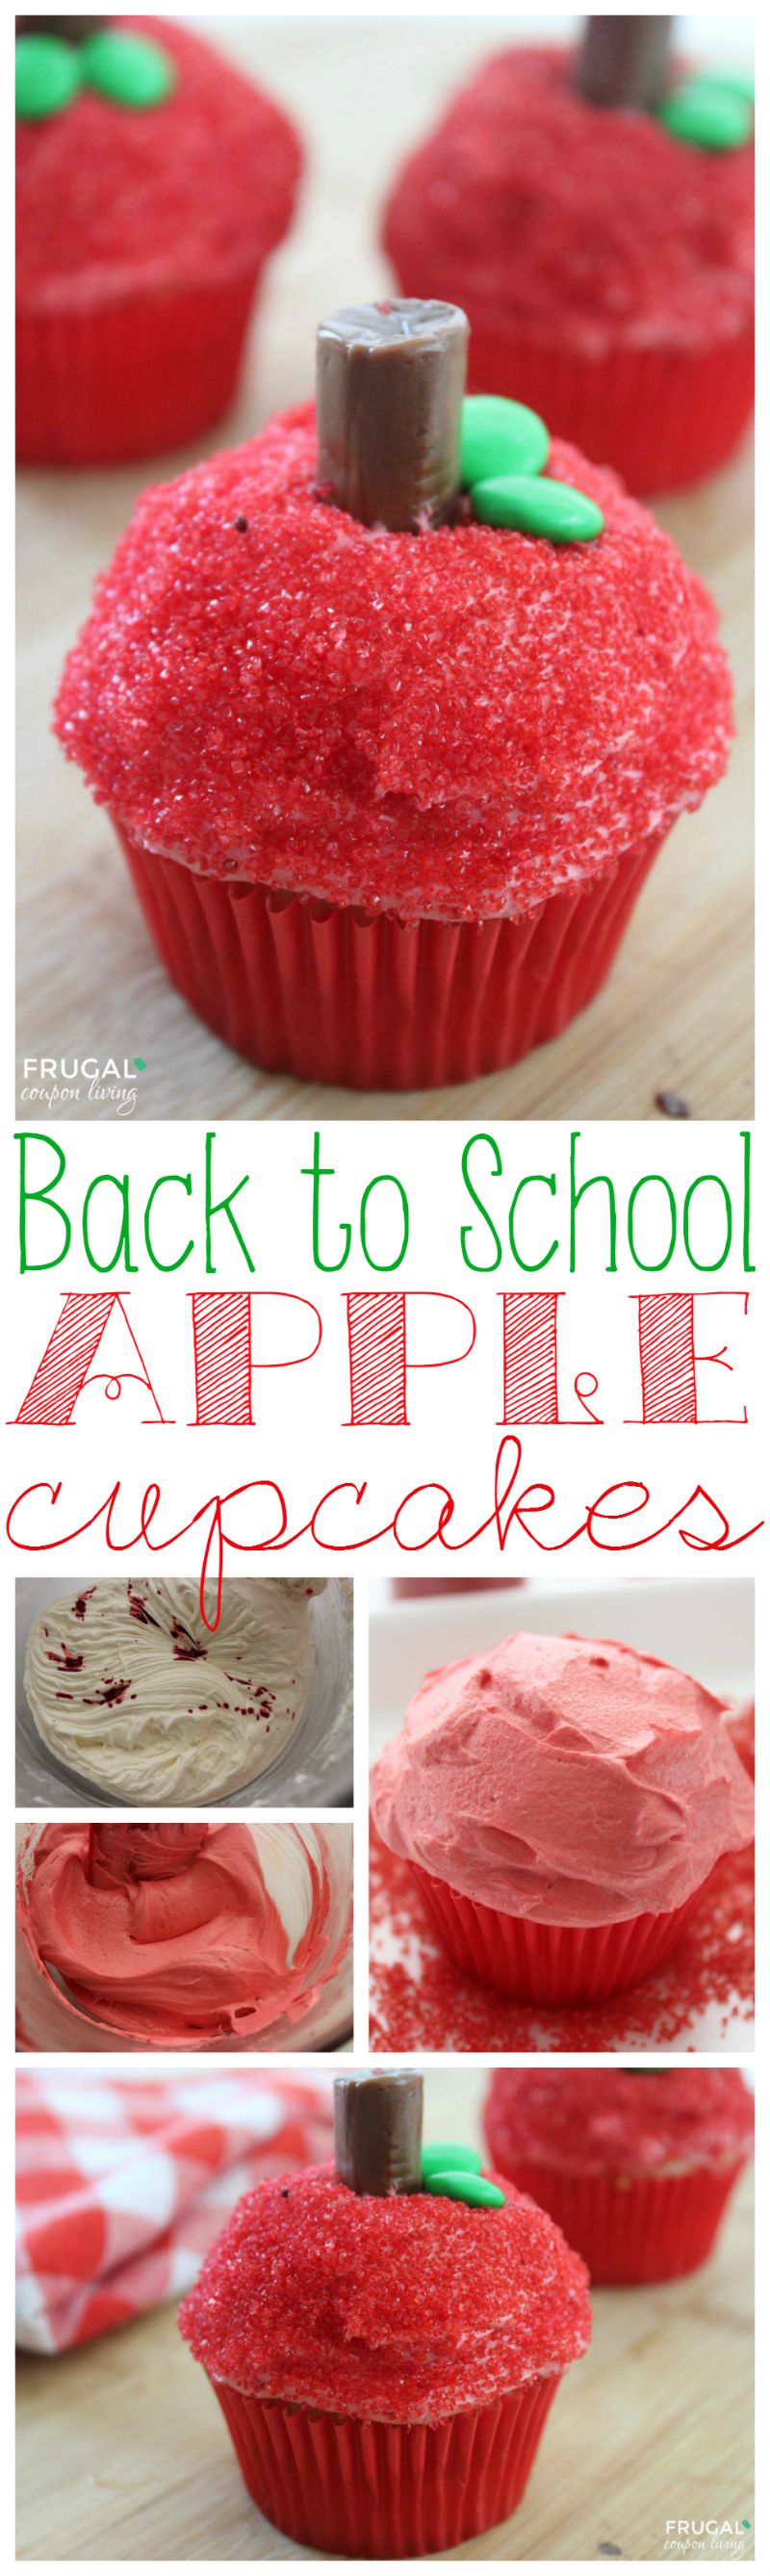
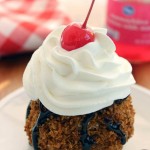
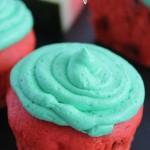
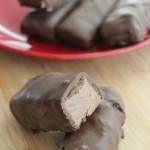
Apple Cupcakes
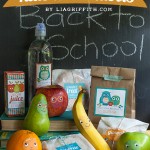
Can you believe we are already talking back to school?! Beyond supplies and everything else that comes with starting school again, getting teachers a little treat to begin the school year is a great idea! Why not make them something? Any teacher would love these adorable cupcakes made to look like an apple! Make a tray of them and put in the Teacher’s Lunchroom or Main Office. They’re so easy to make and will be a huge hit! My kids would agree that a few set aside to enjoy after school on the first day is a good idea too!
Cake Ingredients:
- 1 box White Cake Mix + box ingredients
- Red Cupcake Liners
Frosting Ingredients:
- 1 cup softened Butter
- 3 cup Powdered Sugar
- 3 tbsp Milk
- 1 tsp Vanilla
- Red Food Coloring
- Red Sparkling Sugar
- 12 Tootsie Roll Midgies
- Green Fruit Rollups or Green M&Ms
Directions:
- Preheat oven and line muffin tins with paper liners.
- Prepare batter according to box directions.
- Fill liners 2/3 full and bake according to box directions for cupcakes.
- Allow to cool completely.
- Whip butter and vanilla for until fluffy.
- Gradually add powdered sugar.
- Add milk until you reach desired consistency.
- Add food coloring to acheive pink/red color.
- Frost each cupcake.
- Sprinkle with red sparkling sugar.
- Insert Tootsie Roll in middle to make stem.
- If using Rollups, cut 2 leaves for each cupcake and put in place or if using M&Ms, place 2 M&Ms to represent leaves.
Back to School Apple Cupcakes
Ingredients
- 1 box White Cake Mix + box ingredients
- Red Cupcake Liners
- 1 cup softened Butter
- 3 cup Powdered Sugar
- 3 tbsp Milk
- 1 tsp Vanilla
- Red Food Coloring
- Red Sparkling Sugar
- 1 cup softened Butter
- 3 cup Powdered Sugar
- 3 tbsp Milk
- 1 tsp Vanilla
- Red Food Coloring
- Red Sparkling Sugar
Instructions
- Preheat oven and line muffin tins with paper liners.
- Prepare batter according to box directions.
- Fill liners 2/3 full and bake according to box directions for cupcakes.
- Allow to cool completely.
- Whip butter and vanilla for until fluffy.
- Gradually add powdered sugar.
- Add milk until you reach desired consistency.
- Add food coloring to acheive pink/red color.
- Frost each cupcake.
- Sprinkle with red sparkling sugar.
- Insert Tootsie Roll in middle to make stem.
- If using Rollups, cut 2 leaves for each cupcake and put in place or if using M&Ms, place 2 M&Ms to represent leaves.

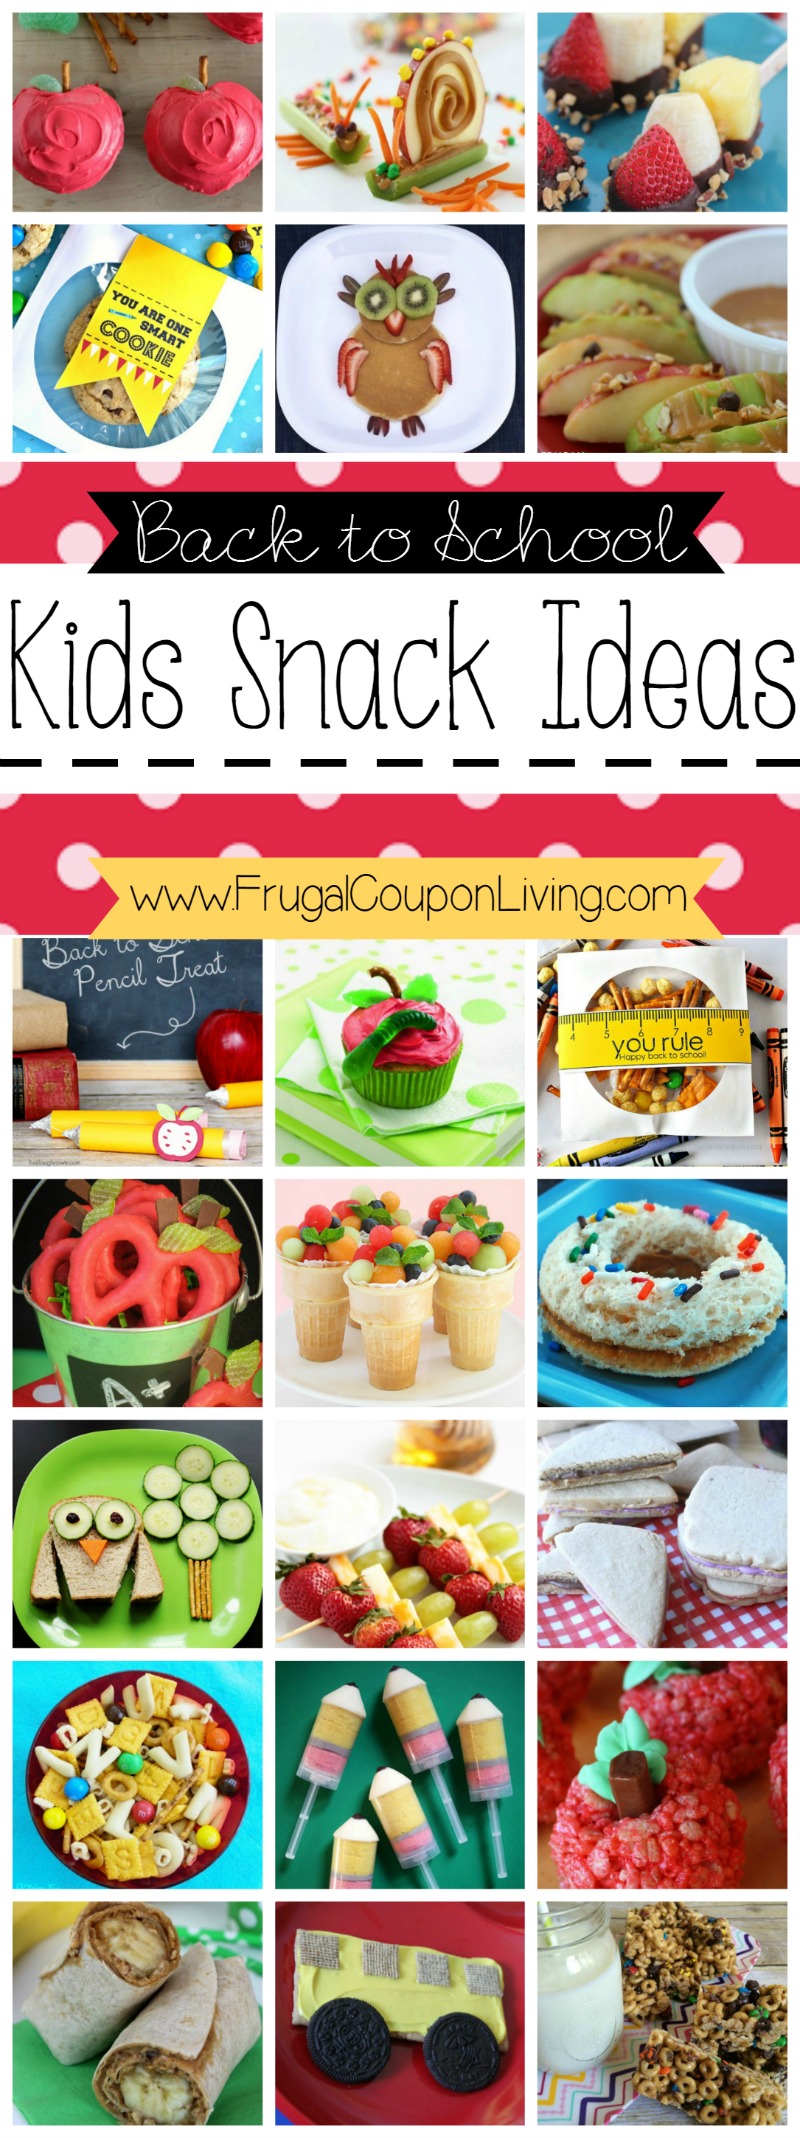
Don’t forget these Back to School Kid’s Snack Ideas. Pin to Pinterest.
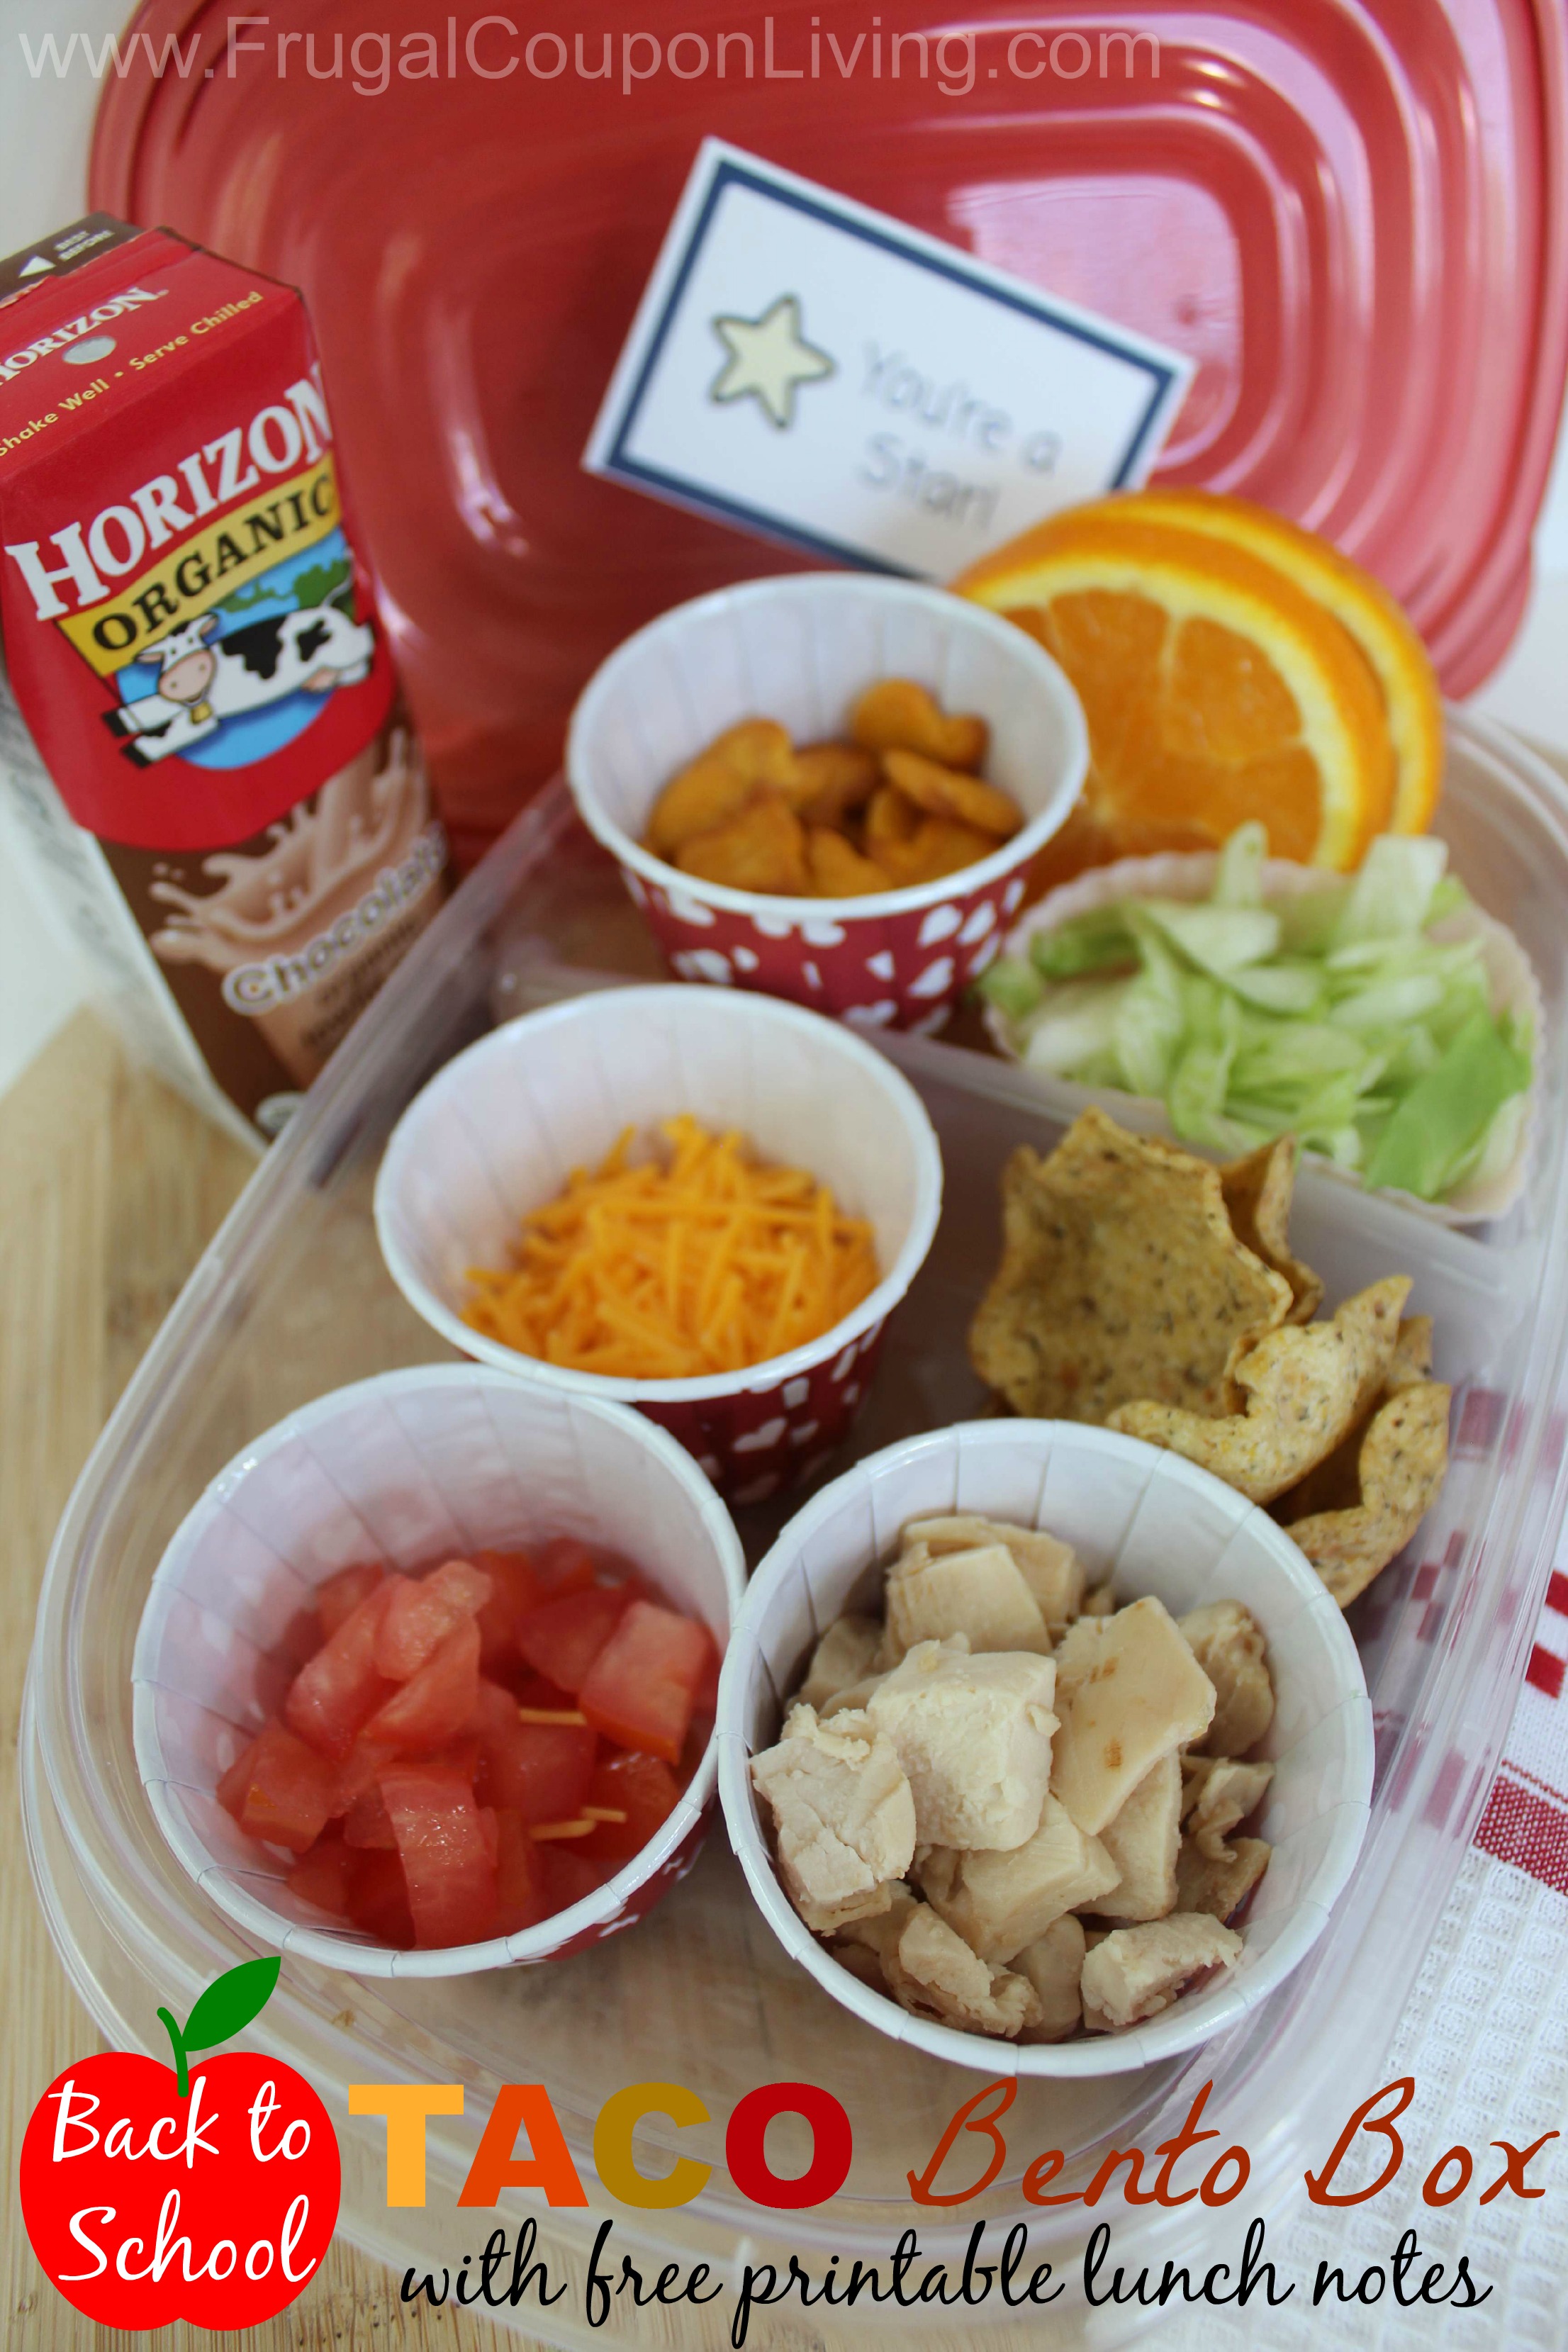
Want another back to school idea – we love this Taco Bento Box with FREE Printable Lunch Notes! Pin to Pinterest.
Just to add a touch of fun – grab these FREE Printable Lunch Notes. I think the best way to allow these to last is to laminate them at the start of the school year. This is my favorite laminator (by far) – so worth the low price!


Check out these other Back to School Frugal Coupon Living FREEBIES and Crafts:
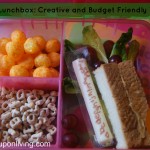
More in our Back to School Series – Project Lunchbox!
- Project Lunchbox Intro – Pin It
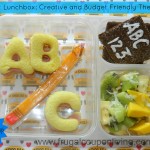
- ABC School Days Theme – Pin It
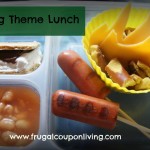
- Shark Week Lunch Theme – Pin It
- Camping Theme Lunch – Pin It
- Chicka Chicka Boom Boom Theme – Pin It
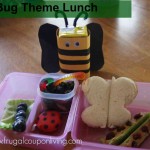
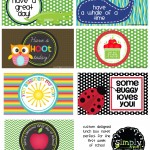
- Bug Lunch Theme – Pin It
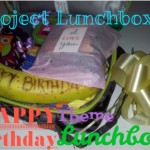
- Birthday Lunch Theme – Pin It
- FREE Printable Lunch Notes – Pin It
- Keep Calm and Teach On FREE Printable and Pencil Vase – Pin It
- Face Fruit and Food Stickers and FREE Lunch Notes – Pin It
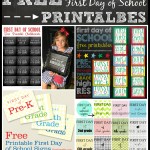
- FREE First day of School Printables – Pin It
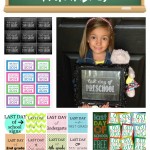
- FREE Last Day of School too – Pin It)
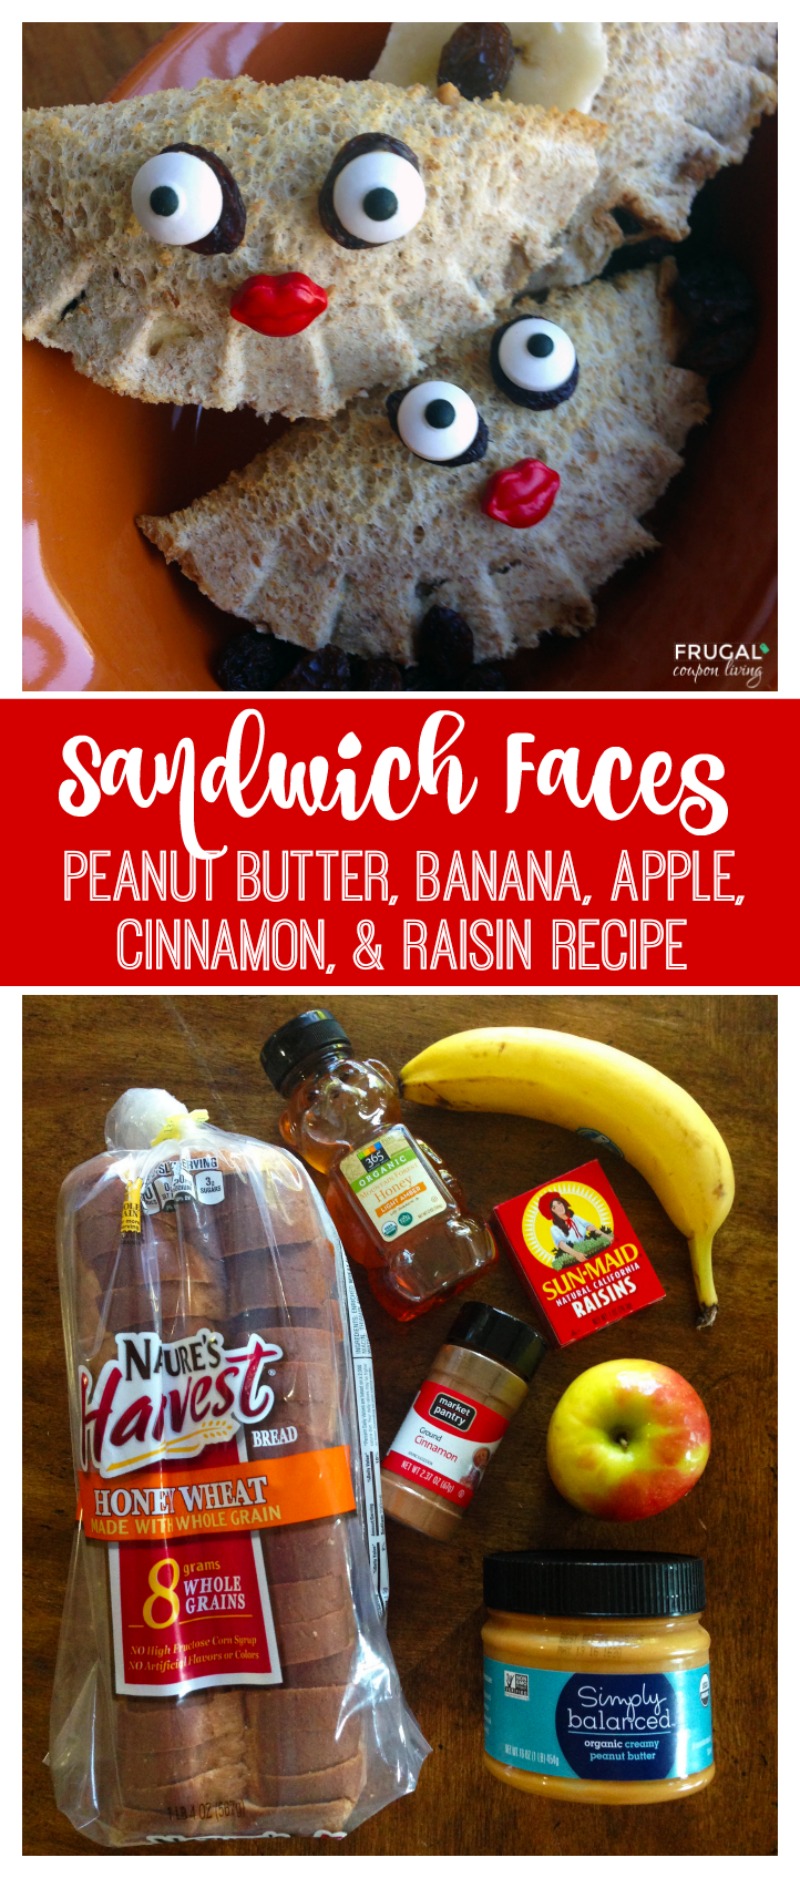
- DIY Welcome Back to School Apple Lunch Sack Craft – Pin It
- DIY Uncrustables Sandwiches – Pin It
Also check out Back to School Deals on Frugal Coupon Living.
![]()
WHAT’S TRENDING? Looking for a few engaging activities? Grab Minute to Win it Games – Traditional, Holiday, Group, and more! Use these fun activities in the office, classroom, or at your next birthday party.

 [/url]


 [/url]
 [/url]
 [/url]


 [/url]

 [/url]