Ready for the great outdoors? These Overnight Camping Hacks and Tips will keep you and the kids busy while you enjoy your camping trip! Save these creative camping activities, campfire games, and recipes to complete your list of things to do while camping at night!
Camping at Night Hacks, Activities, and More


Camping is such an adventure, and there’s nothing like camping at night to give you the full immersive experience of the great outdoors! The trouble comes when you’re trying to find a way to keep the kids occupied while spending the night at the campsite. These Camping at Night Hacks and Tips has all of the fun stuff to keep everyone busy while serving up some wisdom that will make camping easier. Keep an eye out for our list of Things To Do While Camping at Night – games, activities and traditions to start with the family on your next camp trip! These camping hacks and camping activities will be a winner among kids and adults alike!
What should you not forget when camping?
Even if you’re only camping for one night, there are a few key supplies that everyone needs when going overnight camping!
- Tent and tent stakes
- Sleeping bags
- Pillows
- Flashlights, headlamps, and/or a lantern
- Water and water bottles
- Camp-friendly food
- Fire starter
Get our Free Camping Packing list so you pack all the right things.
What is the most comfortable way to sleep in a tent?
Simply having a sleeping bag will still feel like you’re sleeping on hard ground. If you’re looking for a more comfortable way to camp overnight, we recommend bringing a sleeping pad or cot of some sort to make your temporary bed a little cushier. These aren’t necessary, so don’t stress if you forget to take them along!
Before your camping vacation, take a look at these camping ideas including…
- Camping Hacks and Tips (our original post, filled with camping tips and goodness!)
- Easy Camping Recipes
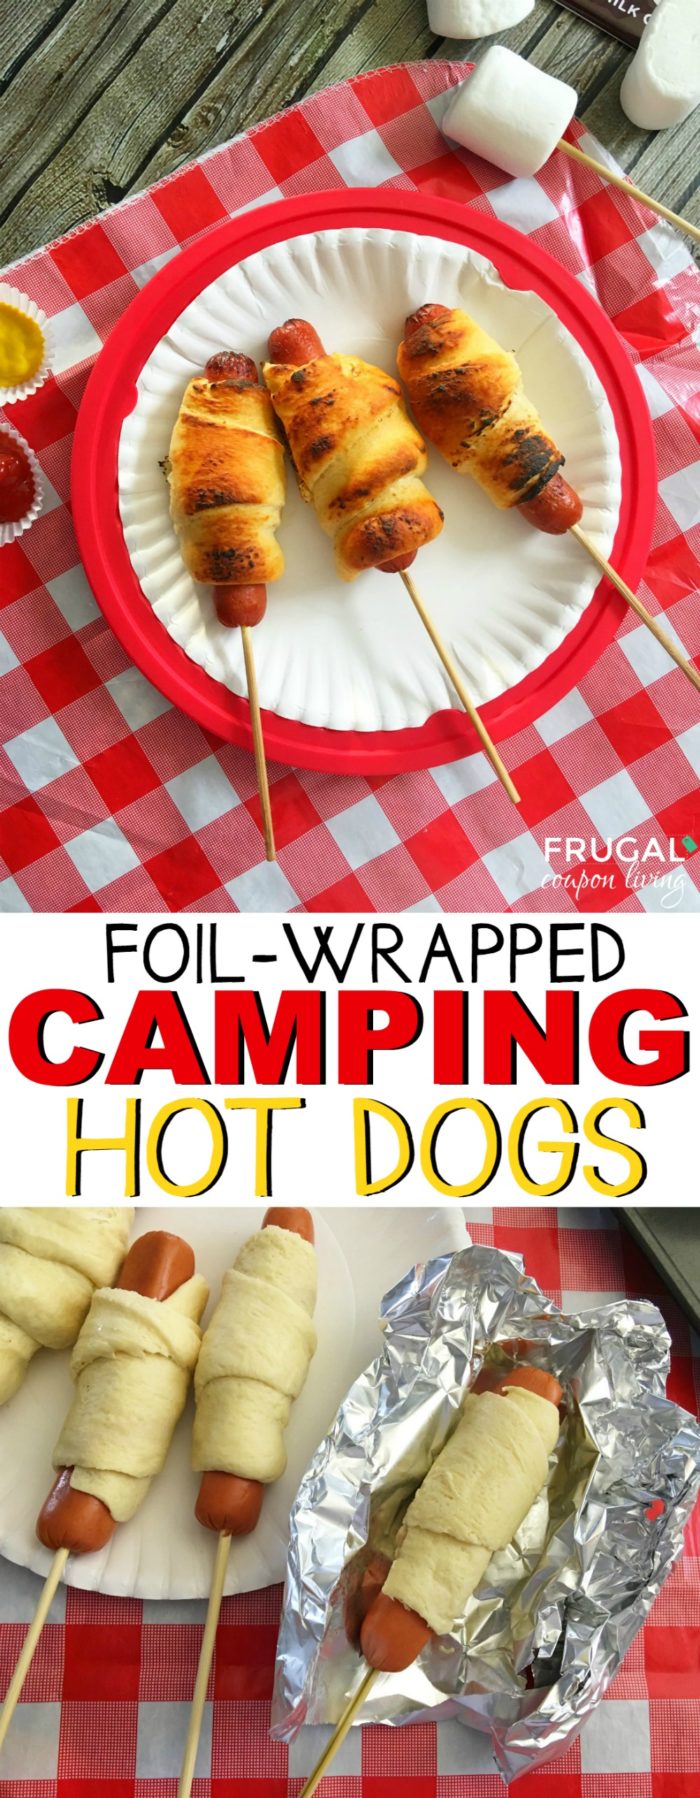
- Foil Packet Meals including our Campfire Hot Dogs and Cinnamon Rolls Baked in Oranges
- Camping Packing List
- RV Packing List
For a kids overnight or sleepaway camp, take a look at Summer Camp Hacks and Tips. For a girls weekend, enjoy these Glamping Ideas.
Overnight Camping Hacks
We took some of our beloved Camping Hacks and Tips and stepped it up with new Overnight Camping Tips and Ideas.

Keep your personal sleeping space clean. Your tent should be clean so you can get the best sleep possible, even when you’re camping! This shoe basket camping hack keeps all shoes out of the tent and the sleeping area free of mud and dirt. | Sunny Simple Life
Hitting the road in an RV? Save this RV Packing List from Frugal Coupon Living. This camping checklist resource will help you get organized before taking off.
Busy the kids with their very own Camping Journal and Logbook from Frugal Coupon Living. They can add to it each year and look back on all their memories!
Want to take a hike while camping? If you are looking for the best places to hike in the U.S., download our hiking trail bucket list and hiking journal too!

Prevent cool air from escaping the top of the cooler with a DIY cooler cover. Recycle an old foam sleeping pad or yoga mat and cut the foam mat the exact dimension of the cooler interior. This is a great hack for camping at night to keep your breakfast ingredients chilled! | Cabela’s
Bring solar lights to illuminate your campsite when you’re camping at night. Stake them around the campsite (especially near your tent stakes to prevent tripping) or mount in an inverted Terra Cotta pot. | Starling Travel
Don’t just bring water — freeze your water jugs before you go! Use them as your drinking water as they melt. This way you’ll have cold water all night (and morning) long. You can also illuminate water jugs with a head lamp with this creative Camping at Night Hack. | Instructables
This camping hack is a must for everyone. Prevent yourself and your family from tripping over tent stakes by marking them off with bright pool noodles. Can’t miss them! | Source

No pool noodles? Check out these LED light up ten stakes to prevent tripping over stakes in the night.
Safety first with this unique camping hack. Keep sharp knives safely tucked away in pieces of pool noodles. | Kid Friendly Things to Do
Taking an extended camping trip or staying near water? Start stockpiling your bread tags for this next camping at night hack. They make great clothespins for drying clothes or other items. | REI
I highly recommend water shoes when camping. However, it can be inevitable a pair of cloth sneakers gets soaked. Have extra newspapers. Pack some newspapers to line a table, help start a fire or speed up the drying process overnight. | According to Elle

This camping food hack is the best. Make your own on-the-go-traveling pantry. You’ll get easy access to all the essentials and can close the door to keep out critters at night! | Mountain Campingz
When it’s time for bed, turn a pool float into a mattress and cover with a sleeping bag, blanket and/or sheets. It’s like your own air mattress, but you don’t have to pack or pay for one! | Meg for It
Things To Do While Camping at Night
Get creative with these fun nighttime camping activities that go beyond the standard board game and ghost story.

You can partially prepare this camping arts and crafts idea at home. Write your kid’s name on white paper with Sharpie. Once you go camping, collect nature (leaves, sticks, twigs, etc) to create this adorable art, a nature name activity. | Mrs. Jones Creation Station
Pick up some glow in the dark paint and paint your walking sticks! It will help you see while you’re moving around at night. You can use a glow in the dark paint, glow in the dark spray or even glow in the dark tape. | Creek Line House
During the day, talk about constellations. Teach your kids about what a constellation is — a group of stars forming a recognizable pattern that is traditionally named after its apparent form or identified with a mythological figure. While it is light outside, make this camp craft, a Stellar Constellation Viewer for Kids. At night, stargaze around the campfire and talk about the constellations on your viewer that you also see in the night sky.
Everyone loves a classic s’more recipe. Once the sun goes down, put a twist on your average camping dessert with our Campfire Cones! Maybe less messy, definitely more fun!

Want to try something different? Make colored fire. How cool is this? Packages of colored fire crystals or pine cones are sold at most camping supply stores or online on Amazon. If you want to make your own, you can check out these DIY colored fire ingredients.
Don’t forget about telling stories around the campfire! Use a flashlight and your tent to make a shadow puppets show. This How to Make a Shadow Puppet tutorial is very helpful. | Fine Art America

Have camping activities planned for the kids. These are some of the Best Camping Games for Kids and include directions and a supply list. Most of the supplies you will already have on your trip!
Outdoor Games at Night

Get ready for a strike with this glow in the dark bowling game using glow sticks and 2-liter water bottles. (As seen in our Summer Bucket List.) | Growing a Jeweled Rose

Have you ever heard of flashlight tag? This is one of the most fun camping activities, and it helps the kids get some energy out before it’s time for bed.

Flashlight Tag Directions: Similar to hide and seek. Everyone carries their own flashlight but only the person who is IT has their’s on. Instead of tagging with hands, you tag with light. Once you’ve been tagged, you turn on your flashlight, point it toward the sky and stand still. Another player can free you by crawling in between your legs (or tagging you). Once everyone is frozen IT wins and the game starts.
Before everyone hides, establish a perimeter (area you cannot go past.) This is especially important for campsites or unfamiliar areas.

We have plenty of other night games you can play outdoors! Print our night games for kids. This includes Glow Sardines, Flashlight Tag, Gloweyball, Ghost in the Graveyard, Firefly, Kick the Can in the Dark, and Night Statues.

Run your kid around the camp (ok, okay…walk) on this Camping Treasure Hunt. 20 Fun Camping Scavenger Hunt riddles to enjoy the outdoors!

Speaking of flashlights, don’t forget our free outdoor games printable. Our Flashlight Scavenger Hunt download (see more Scavenger Hunt Ideas.)
To get your free flashlight scavenger hunt printable, subscribe to our emails and look for a link and password in our inbox. The access code allows you to access and download all of our free printables, as well.


What didn’t I think of that?! Camping Hacks and Tips for the great outdoors. Pin to Pinterest.

Weather bad? Take a look at these Camping in the Rain Tips. Pin to Pinterest.

Enjoy these Camping Recipes for dinner, snacks, breakfast and lunch. Pin to Pinterest.


WHAT’S TRENDING? Looking for a few engaging activities? Grab Minute to Win it Games – Traditional, Holiday, Group, and more! Use these fun activities in the office, classroom, or at your next birthday party.


![rolled camp kitchen sew a straight line blog-6_thumb[16]](https://i2.wp.com/frugalcouponliving.com/wp-content/uploads/2016/04/rolled-camp-kitchen-sew-a-straight-line-blog-6_thumb16.jpg)