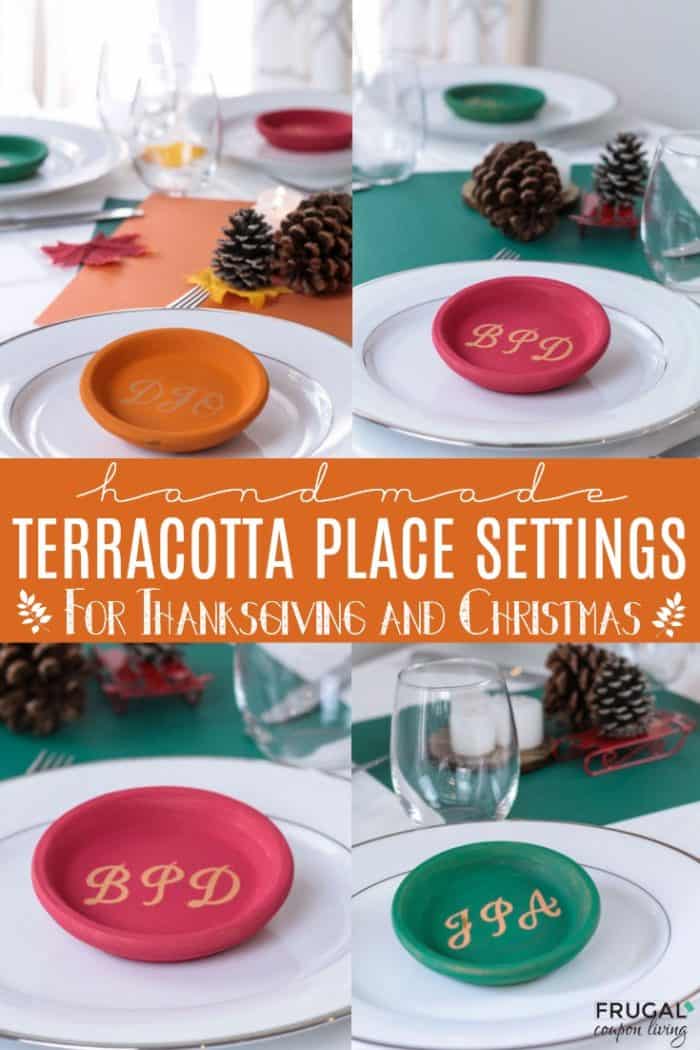
Handmade Terracotta Place Settings for your Christmas and Thanksgiving Tablescapes. This clay pot plant saucers craft is easy and add the cutest touch to the holiday table.
Handmade Terracotta Place Settings for the Holidays

I love using alternative supplies to make cute crafts for the home. This time, I challenged myself to make something functional from the terracotta pot saucers that I had left over from spring. I’ve broken the pots themselves, so I was stuck wondering what to do with the leftover saucers!
But luckily, I thought of the perfect use for them – Handmade Terracotta Place Settings!
The 4-inch pot saucers that I have are perfect for place settings or even for coasters. If you’ll be using the pots as coasters, apply a clear waterproof sealer over the paint so it doesn’t chip.
These are so versatile, they can be used to make any holiday place setting more special! And since the pot saucers are free (I also saw them for sale at a hardware store for about 50 cents each), you can make them for every member of your family or friends list for every holiday!
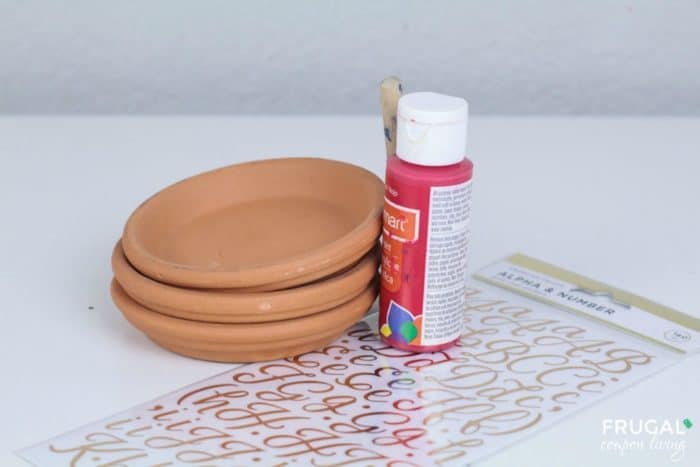
Supplies:
Directions:
Clean the pot saucers with a damp cloth and let dry completely.
Stick the stickers onto the center of each saucer, using either each person’s name, cute sayings, or a person’s initials. Choose an option based on the size of your stencil stickers.

Paint over the entire pot saucer with acrylic paint. Let the paint dry. If your colors are light, you may need to apply a second or third coat. Wait until the paint is completely dry before moving to the next step.

Carefully peel off the stencil stickers. You may need to use a craft knife to get the stencils to come off the pot. If you have any bleed-through on the paint, cover any drips with a paint color that matches your saucer color.

Use these place settings in your fall and winter tablescapes! I made red, green, and orange to work with both fall and winter celebrations. Use just red and green for Christmas, and red, green, and orange for the fall!
Handmade Terracotta Place Settings for your Christmas and Thanksgiving Tablescapes. This clay pot plant saucers craft is easy and add the cutest touch to the holiday table. #FrugalCouponLiving #Thanksgiving #Christmas #tablescape

Hosting for the holiday? Take a look at these Inspiring Thanksgiving Tablescapes. Pin to Pinterest on your Home and Thanksgiving Boards.

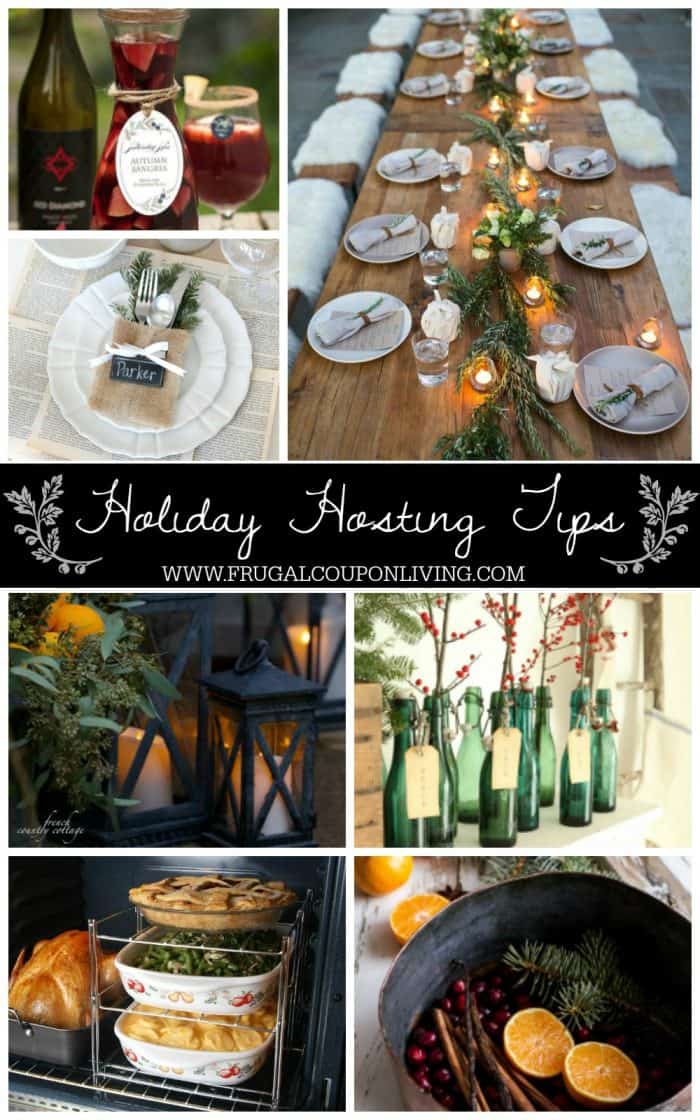
Also enjoy these Party and Hosting Tips for the Holidays. Pin to Pinterest.

WHAT’S TRENDING? Looking for a few engaging activities? Grab Minute to Win it Games – Traditional, Holiday, Group, and more! Use these fun activities in the office, classroom, or at your next birthday party.