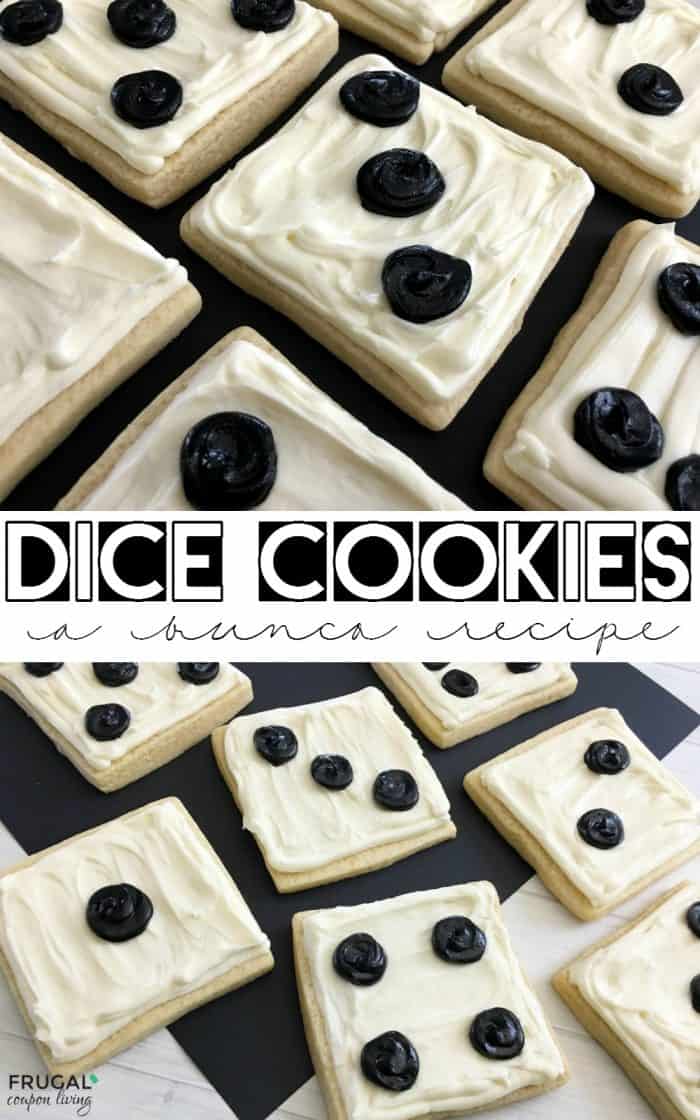
Bunco Recipe Idea – Dice Cookies
Raise your hand if your bunco night is less about the dice and more about the food and time spent with friends? I don’t know about you, but when bunco night comes around and it’s my time to host, I am often struggling for the best recipe idea. These dice cookies can be used with a girls’ bunco night or have fun making them with the kids to celebrate a family game night!
Bunco: (also Bunko or Bonko) is a game played in teams with three dice. The game is played with two or more people often in teams of two. An ideal game has three tables of four people (12 people total), with two people at each table on a team for a total of six teams. The goal of the game is to get the Bunco (three matching dice) for a total of 21 points. The team with the most points wins.
What You Need:
- Decorating bags
- Parchment paper
- Square Cookie Cutter or use a knife
Ingredients:
- 3/4 cup softened butter
- 3/4 cup granulated sugar
- 1/2 teaspoon vanilla extract
- 1/2 teaspoon almond extract
- 2 cups + 2 tablespoons all purpose flour
- 1/4 teaspoon salt
- 1 egg
- Tube black icing
- 16 oz creamy vanilla frosting
Directions:
- Preheat your oven to 325° and line a couple baking sheets with parchment paper or a silicone baking mat.
- Use a hand mixer to beat your butter and sugar until light and fluffy.
- Mix in your vanilla and almond extract and egg.
- Then mix your flour in and continue to mix until your ingredients start sticking together.
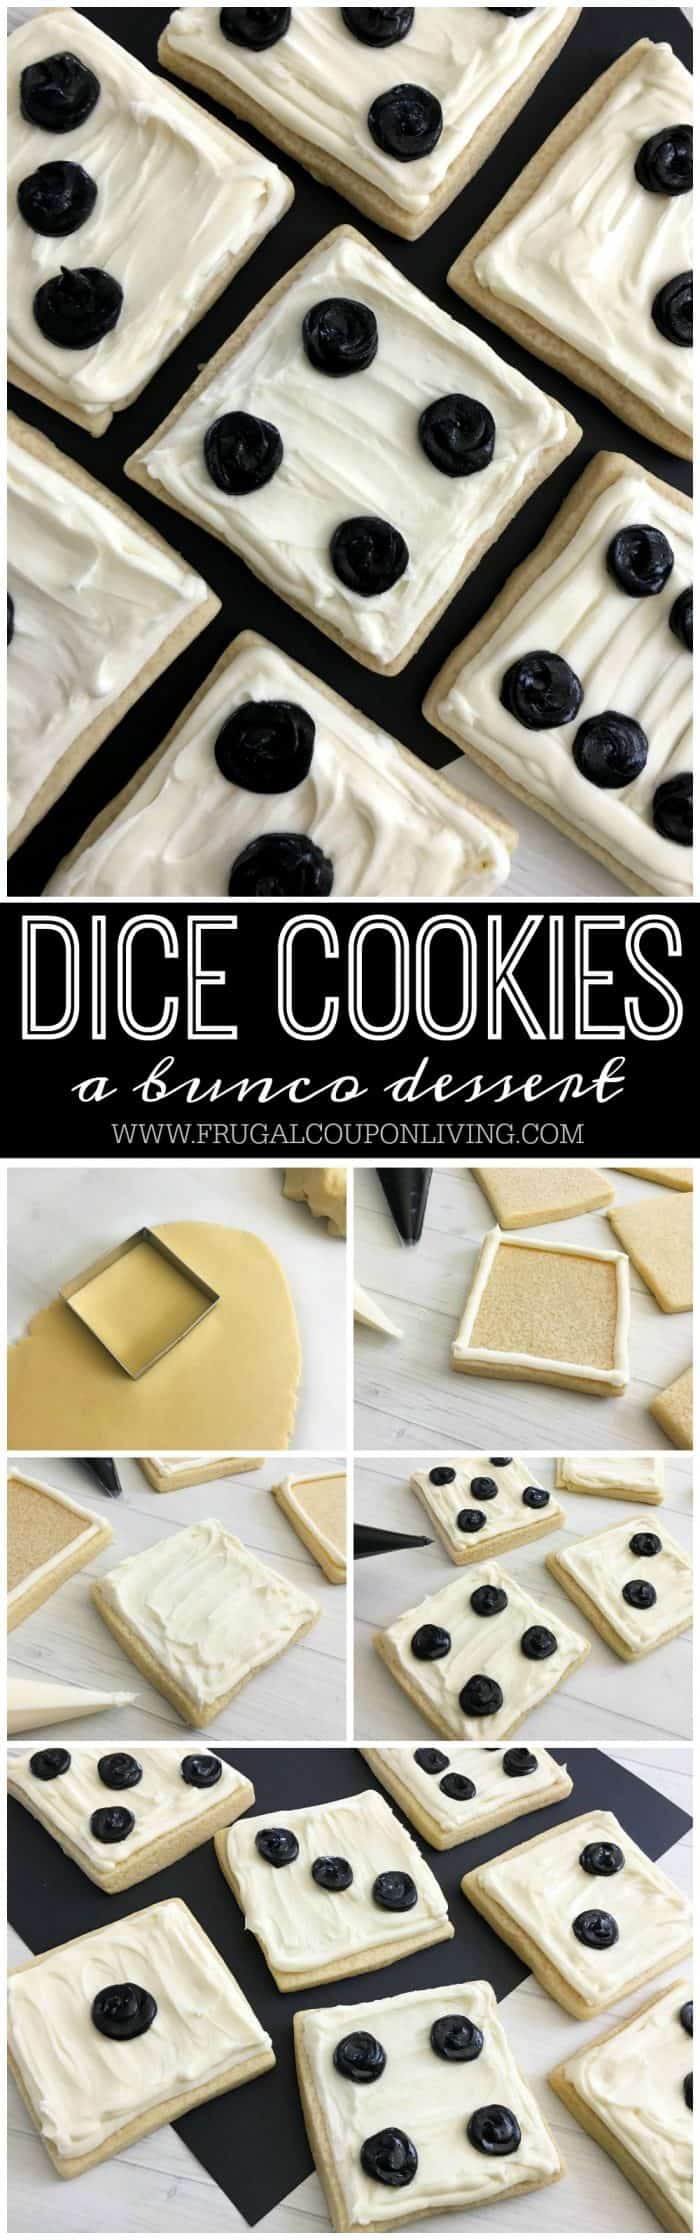
- Roll your dough out onto a floured piece of parchment paper and use your square cookie cutters to cut out your dice shapes and place onto your lined baking sheets.
- Bake for 8-10 minutes (depending on how thick your dough squares are) and let cool.
- Fill one decorating bag with your black icing and one with your vanilla frosting and cut the tips off.
- Frost a white outline on each square, fill in, and smooth your frosting out.
- Now draw small circles onto the white squares for the dice numbers.

Bunco Recipe Idea – Dice Cookies
- Prep Time: 10 mins
- Cook Time: 10 mins
- Total Time: 20 minutes
Description
[url href=”undefined”] [/url]
Ingredients
- 3/4 cup softened butter
- 3/4 cup granulated sugar
- 1/2 teaspoon vanilla extract
- 1/2 teaspoon almond extract
- 2 cups + 2 tablespoons all purpose flour
- 1/4 teaspoon salt
- 1 egg
- Tube black icing
- 16 oz creamy vanilla frosting
Instructions
- Preheat your oven to 325° and line a couple baking sheets with parchment paper or a silicone baking mat.
- Use a hand mixer to beat your butter and sugar until light and fluffy.
- Mix in your vanilla and almond extract and egg.
- Then mix your flour in and continue to mix until your ingredients start sticking together.
- Roll your dough out onto a floured piece of parchment paper and use your square cookie cutters to cut out your dice shapes and place onto your lined baking sheets.
- Bake for 8-10 minutes (depending on how thick your dough squares are) and let cool.
- Fill one decorating bag with your black icing and one with your vanilla frosting and cut the tips off.
- Frost a white outline on each square, fill in, and smooth your frosting out.
- Now draw small circles onto the white squares for the dice numbers.

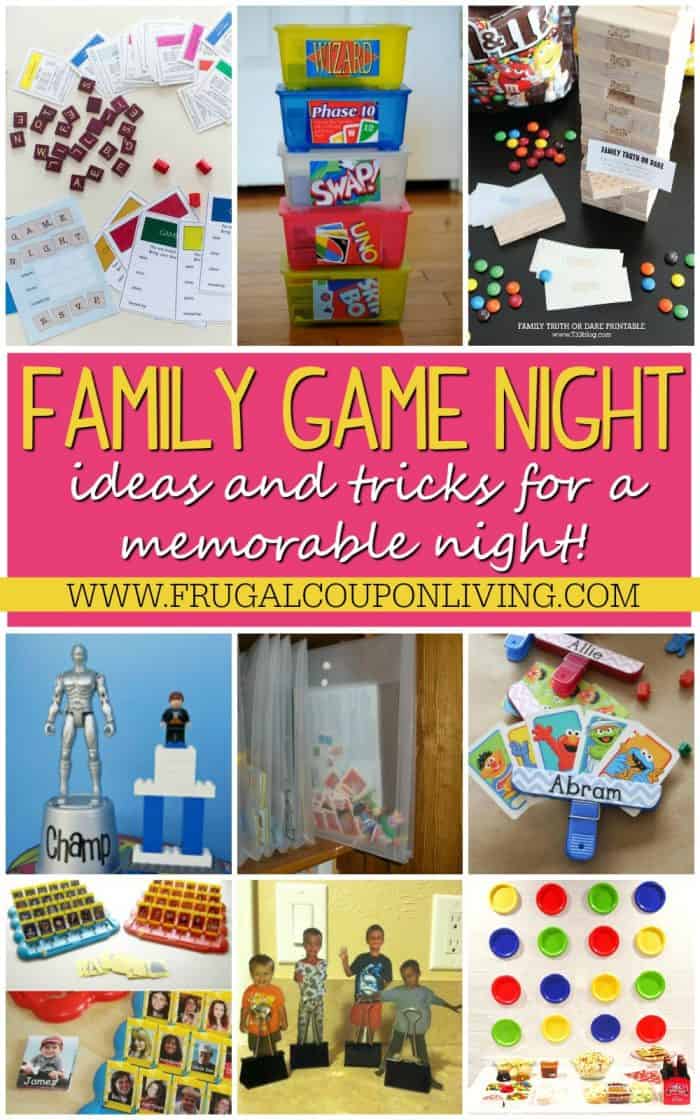
Also take a look at these Family Game Night Ideas and Tricks. Pin to Pinterest.
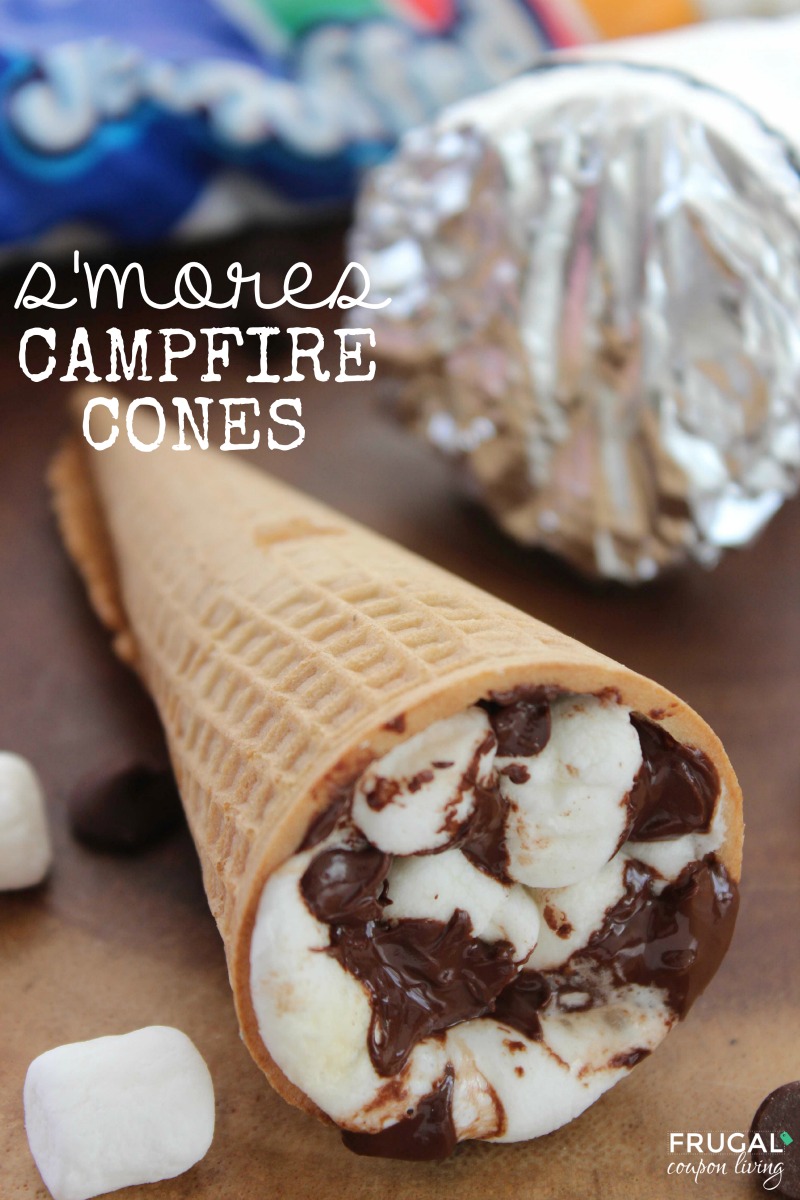
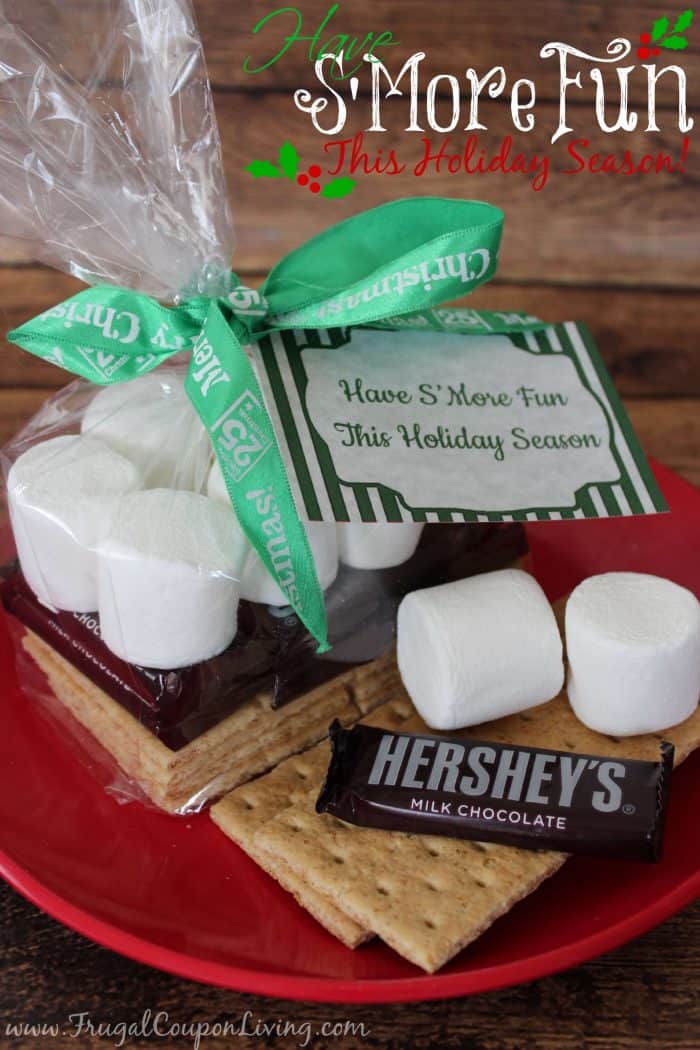
Enjoy these Family Game Night Snack Ideas. Pin to Pinterest.
![]()
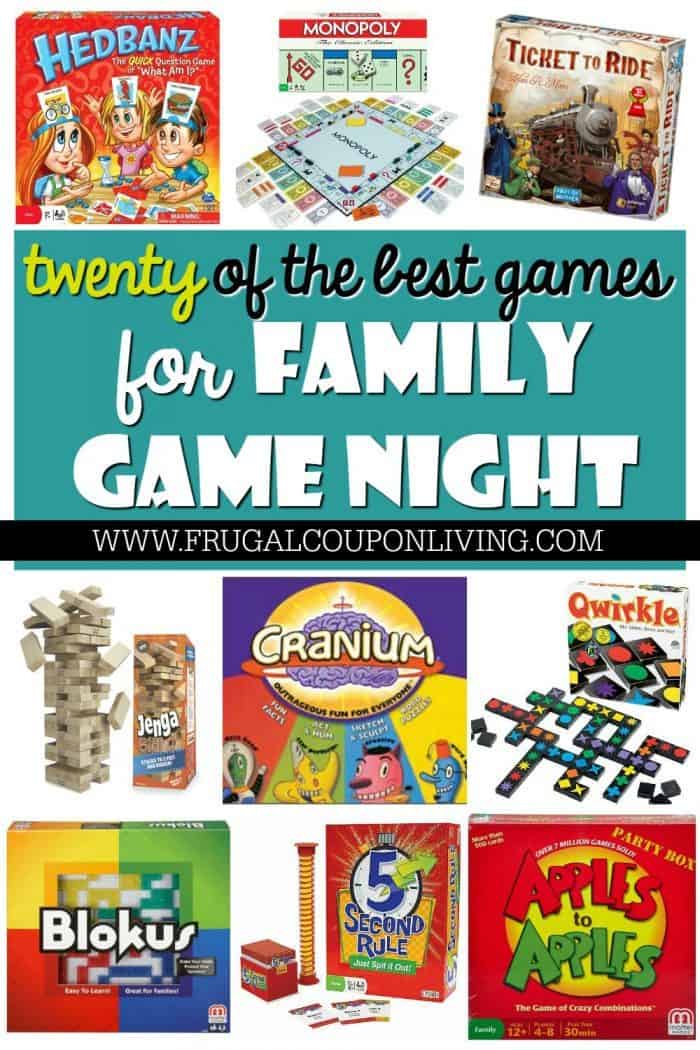
We also enjoy 20 of the Best Games for Family Game Night. Pin to Pinterest.

WHAT’S TRENDING? Looking for a few engaging activities? Grab Minute to Win it Games – Traditional, Holiday, Group, and more! Use these fun activities in the office, classroom, or at your next birthday party.


 [/url]


 [/url]
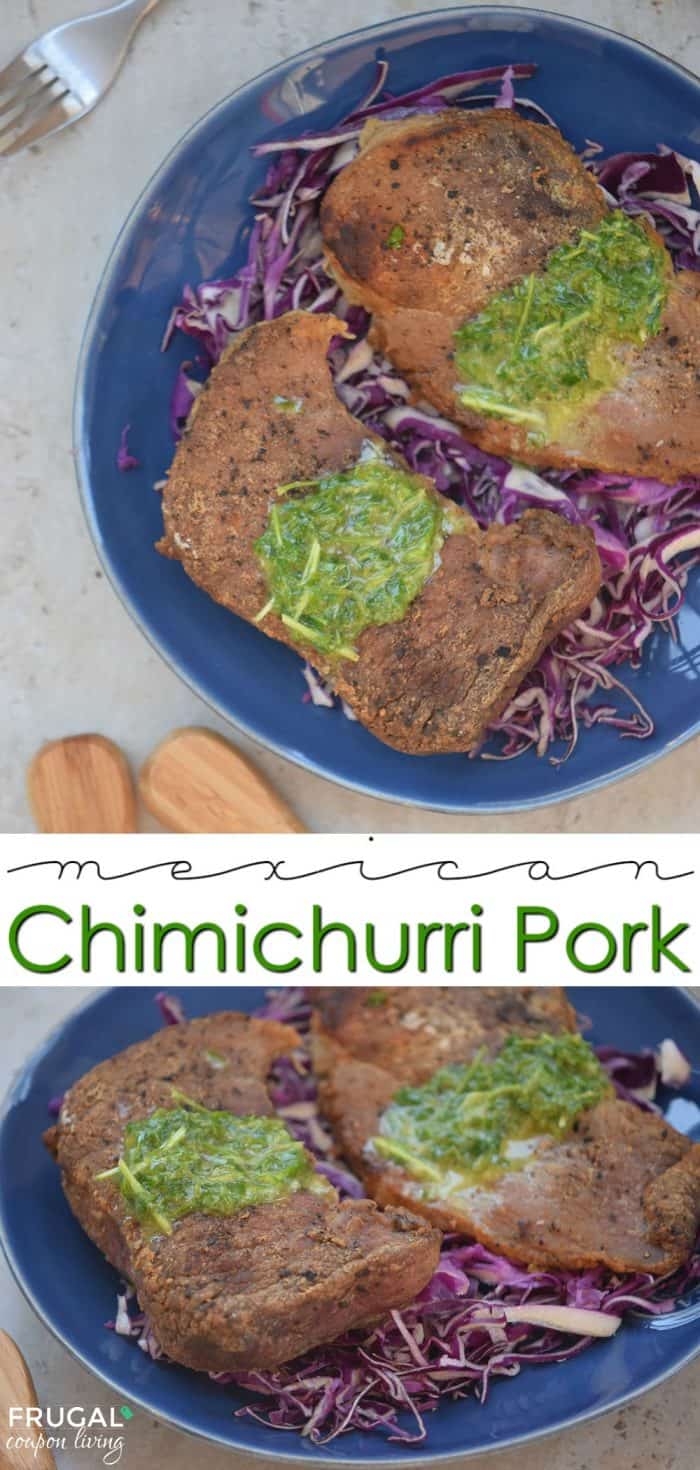


 [/url]


 [/url]

 [/url]


 [/url]