Candy Pizza Cookie Reusing Leftover Halloween Candy on Frugal Coupon Living – It’s a sweet tooth’s holiday wish come true! Serve also as a Halloween Dessert idea!
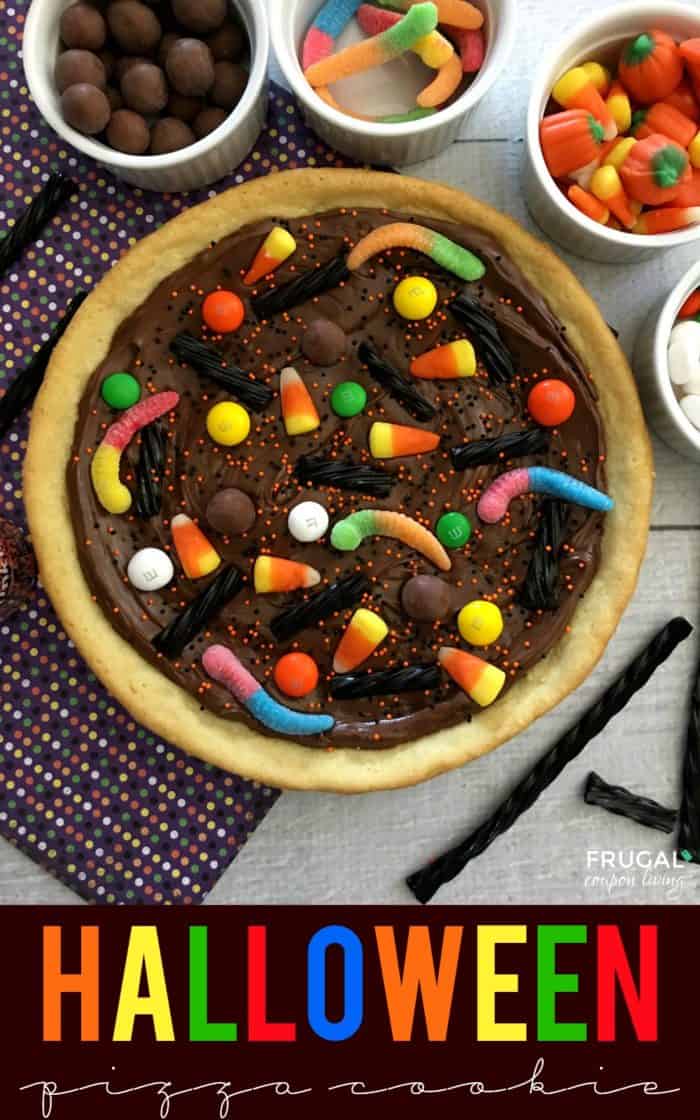
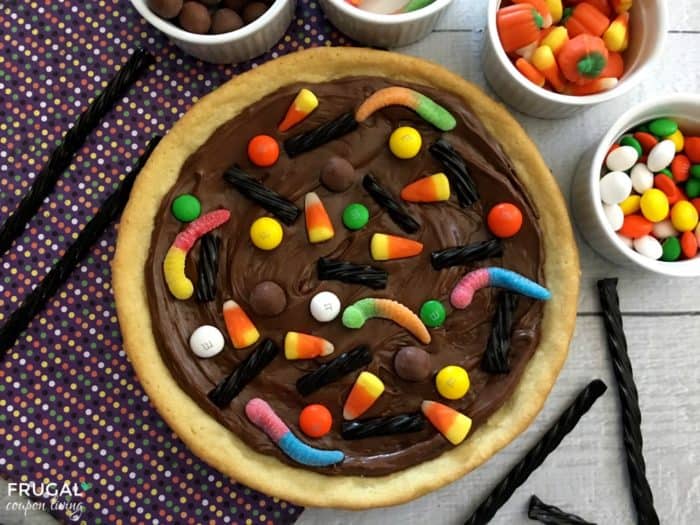
Candy Pizza Cookie with Leftover Halloween Candy
Do you ever end up with Leftover Halloween Candy? Whether you have leftovers in November, leftover candy in March, or lets get real, Halloween Candy is gone by November 1st and you never have leftovers at all, we have the tastiest Candy Pizza Cookie for you! This recipe can be made with leftover Halloween candy or you can make it in October (if you do, be sure to add candy eyes for a fun Halloween monster effect – like the Monster Cupcakes!) Using a sugar cookie dough, frosting, and everything but the kitchen sink when it comes to candy, this recipe is very quick to make. It only has 3 ingredients plus however many additional ingredients you need to decorate. Best of all, it something the kids can do on their own (once the sugar cookie is baked!)
Ingredients:
- Pillsbury refrigerators sugar cookie dough
- Pillsbury chocolate frosting
- Leftover Halloween candy: gummy worms, black licorice, candy corn, whoppers, etc.
- Sprinkles
- 9″ springform pan
- Butter
Directions:
- Preheat your oven to 350° and grease your 9 inch spring form pan with butter.
- Open it and break your cookie dough into five or six pieces in place in the bottom of your pan.
- Evenly press your sugar cookie dough into your pan and smooth out the edges with your fingertip.
- Bake for 17 minutes and let your giant cookie cool.
- After about 10 minutes of your cookie cooling you can open your springform pan and then let your cookie finish cooling.
- Spread about 3/4 cup of chocolate frosting onto your cookie.
- Cut your licorice and place onto your frosted cookie along with your other candies and sprinkles.
- Slice like a pizza and enjoy!

Candy Pizza Cookie with Leftover Halloween Candy
- Prep Time: 350 mins
- Cook Time: 17 mins
- Total Time: 6 hours 7 minutes
- Yield: 8 1x
Ingredients
- Pillsbury refrigerators sugar cookie dough
- Pillsbury chocolate frosting
- Leftover Halloween candy: gummy worms, black licorice, candy corn, whoppers, etc.
- Sprinkles
- 9” springform pan
- Butter
Instructions
- Preheat your oven to 350° and grease your 9 inch spring form pan with butter.
- Open it and break your cookie dough into five or six pieces in place in the bottom of your pan.
- Evenly press your sugar cookie dough into your pan and smooth out the edges with your fingertip.
- Bake for 17 minutes and let your giant cookie cool.
- After about 10 minutes of your cookie cooling you can open your springform pan and then let your cookie finish cooling.
- Spread about 3/4 cup of chocolate frosting onto your cookie.
- Cut your licorice and place onto your frosted cookie along with your other candies and sprinkles.
- Slice like a pizza and enjoy!


We love Halloween crafts, even when it comes to food! Take a look at these delicious 31 Days of Kid’s Halloween Food Crafts. Pin to Pinterest.

Also enjoy these Creative Ways to Reuse Leftover Halloween Candy. Pin to Pinterest.

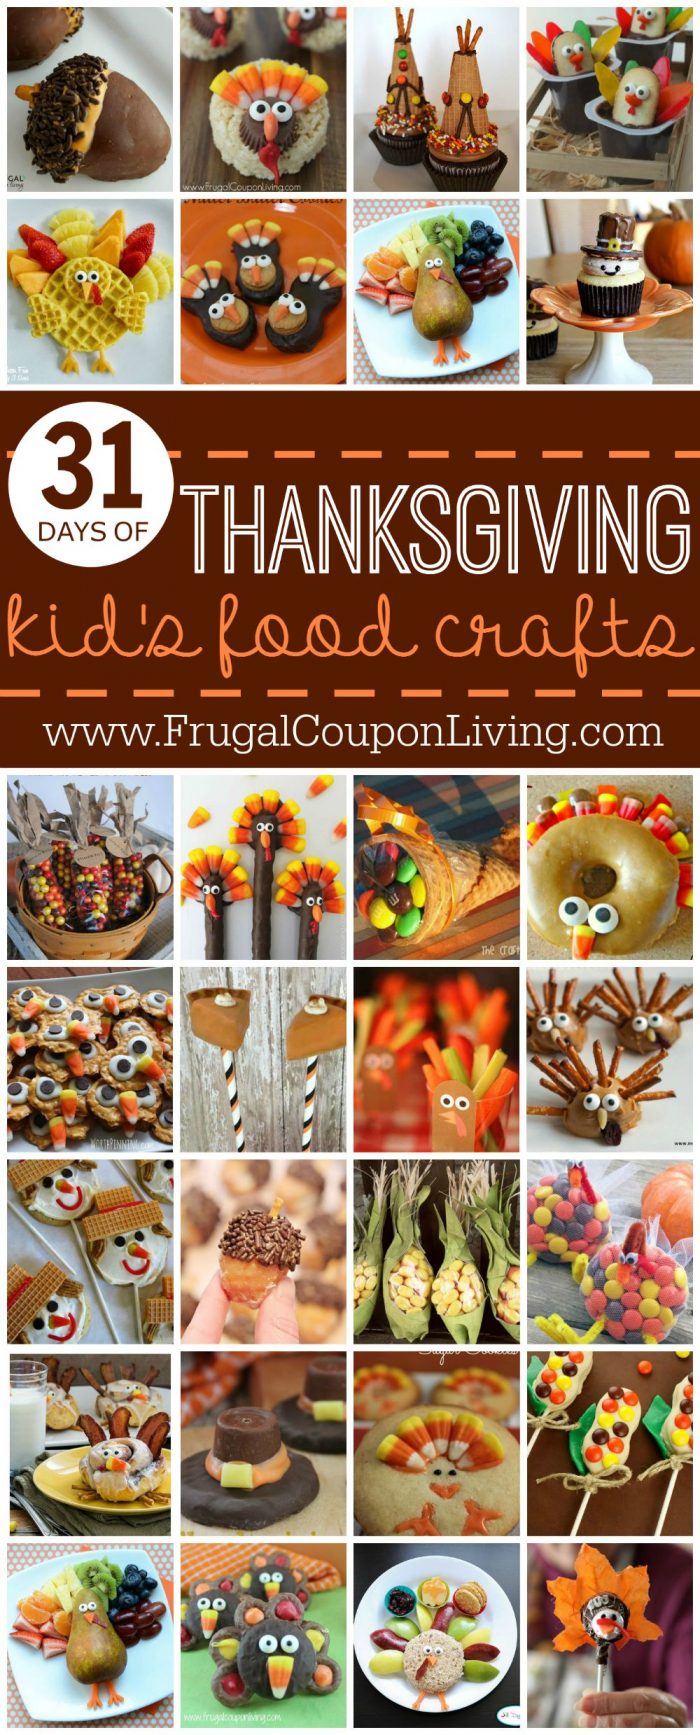
Has Halloween come and gone and you are looking forward to the next holiday season? Also enjoy our Thanksgiving Kids Food Crafts – Pin to Pinterest.

WHAT’S TRENDING? Looking for a few engaging activities? Grab Minute to Win it Games – Traditional, Holiday, Group, and more! Use these fun activities in the office, classroom, or at your next birthday party.