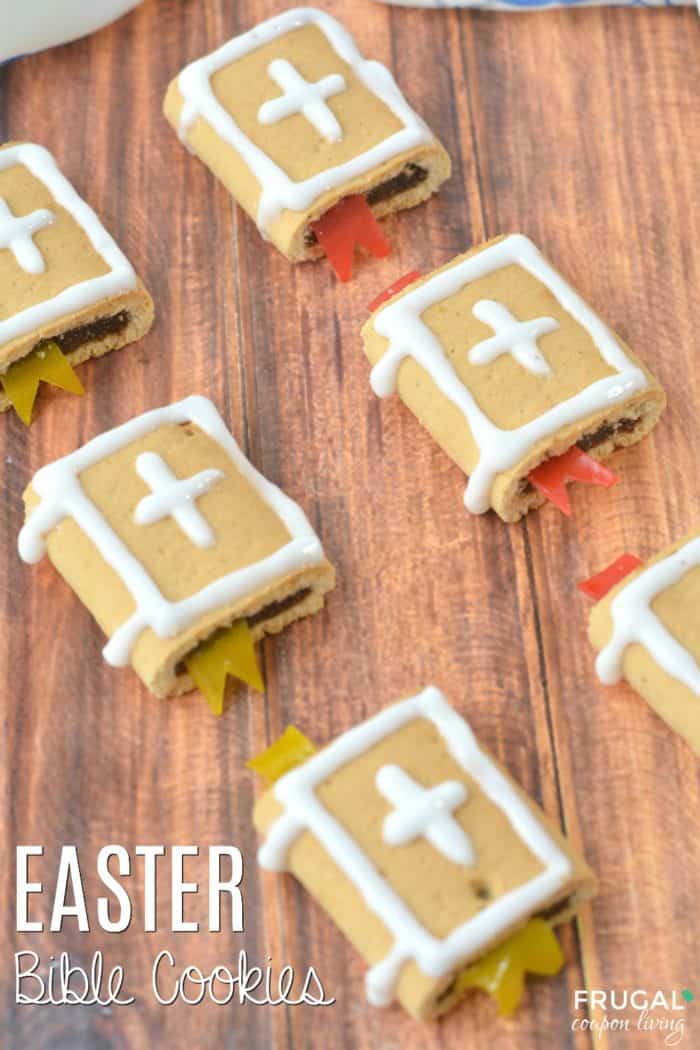
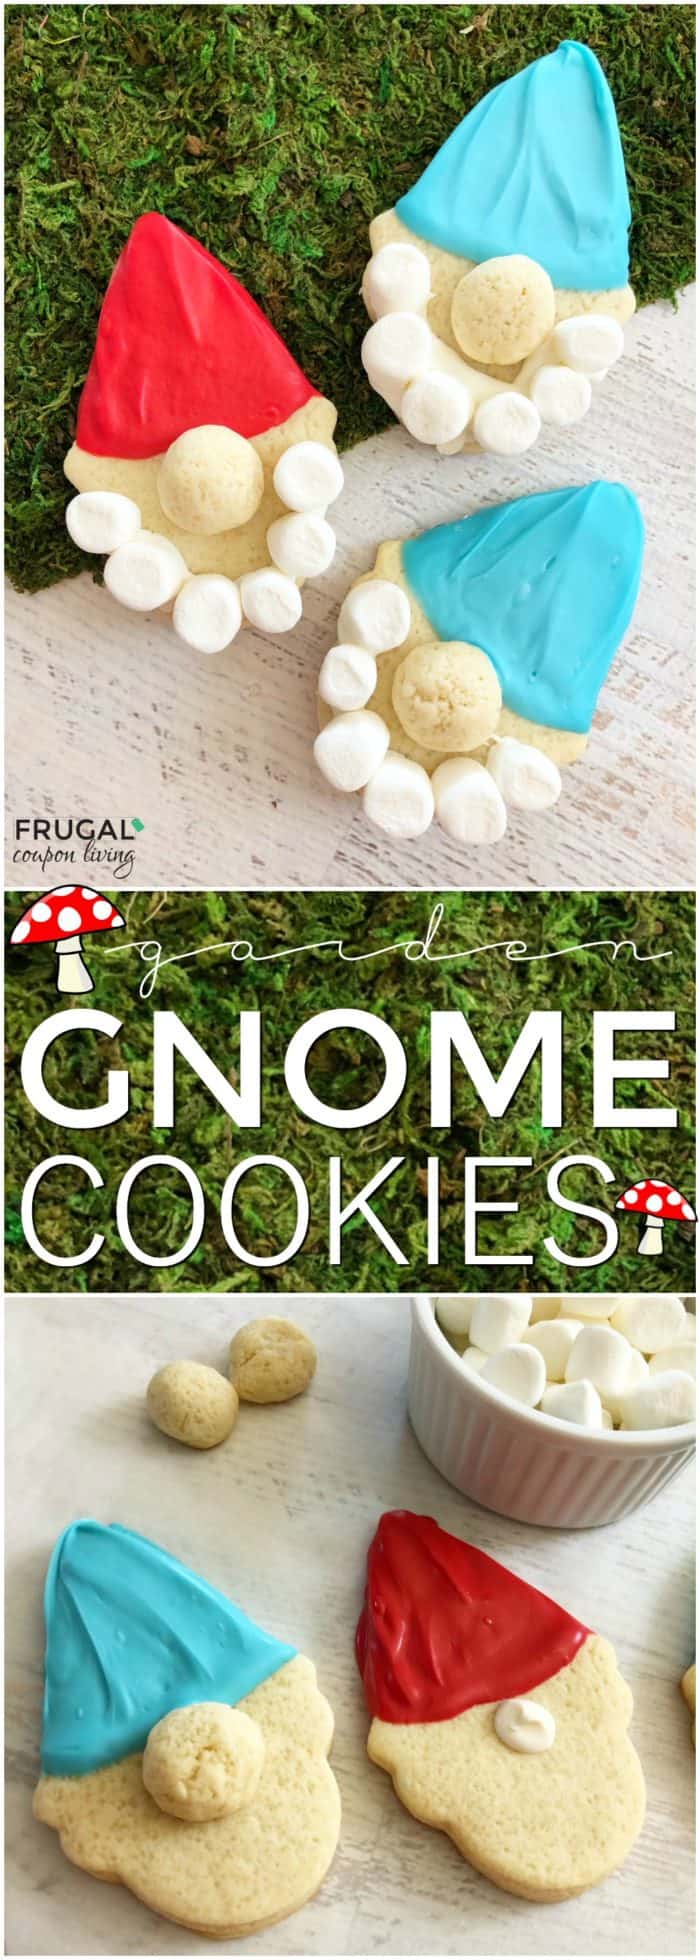
Gnome Cookies – Inspired by Gnomeo & Juliet, this Gnomes Garden Craft is fun for a garden party or afternoon kids food craft for the kids! Enjoy.
Gnome Cookies
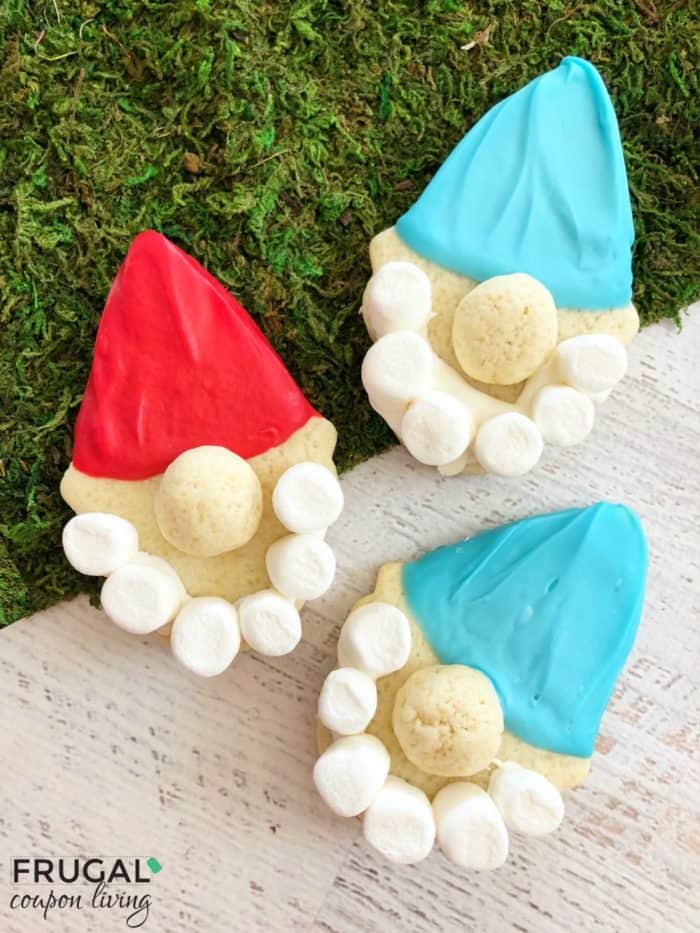

Did you catch the movie Gnomeo and Juliet? If so, you might find gnomes as adorable as our family. The movie is basically a creative twist on the classic Shakespeare tale. Two young garden gnomes, Gnomeo and Juliet, try to avoid tragedy and find lasting happiness together when they are caught up in a feud between neighbors.
If you enjoyed this movie, be on the look out for Sherlock Gnomes. When the gnomes go missing, there’s only one gnome for the job. This fun mystery is released in theaters on March 23, 2018.
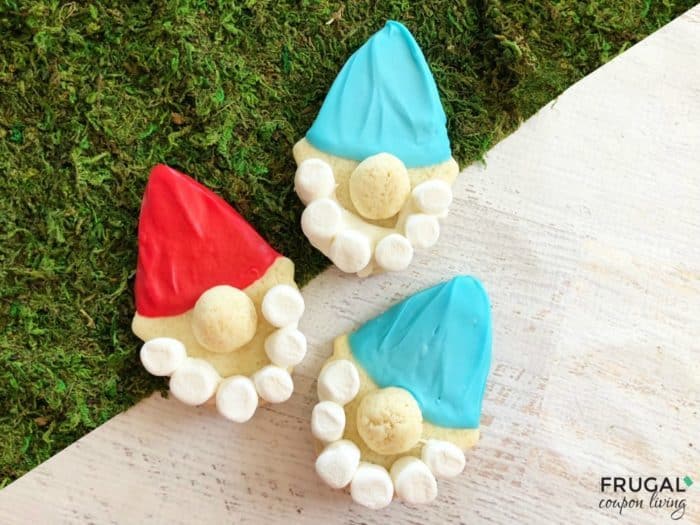
Before kitting the theater or perhaps after you enjoy the show, make this adorable Gnome Cookies. If you don’t make them to go along with the movie, they are also fun for a garden party!
Enjoy!
Gnome Cookies
Makes 10, recipes doubles well.
Ingredients:
- 1/2 cup salted butter, softened
- 1/2 cup granulated sugar
- 1 teaspoon almond extract
- 1 egg
- 1 2/3 cups flour
- 1 Tablespoon milk
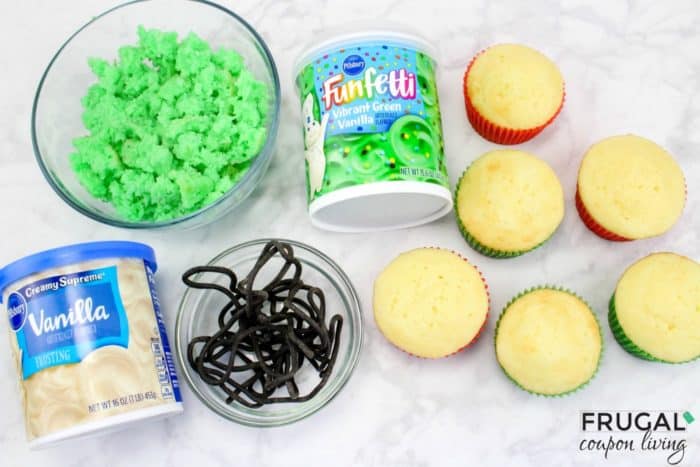
Decorating Ingredients:
- 1 cup red candy melts
- 1 cup blue candy melts
- 1 cup white candy melts
- Miniature marshmallows
- Decorating bag
Directions:
- Preheat your oven to 325° and line a baking sheet with parchment paper.
- In a large mixing bowl, beat together your butter and sugar until light and fluffy.
- Now mix in your egg and almond extract.
- Then mix in your flour and milk.
- Form your dough into a large ball and roll into flour if it’s still a little sticky.
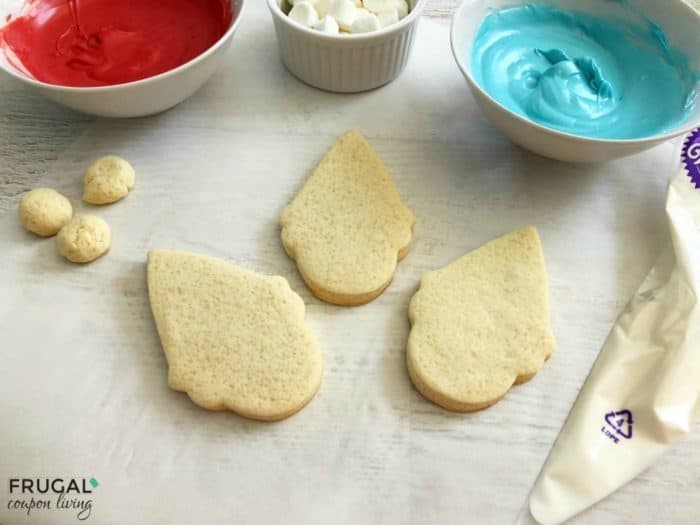
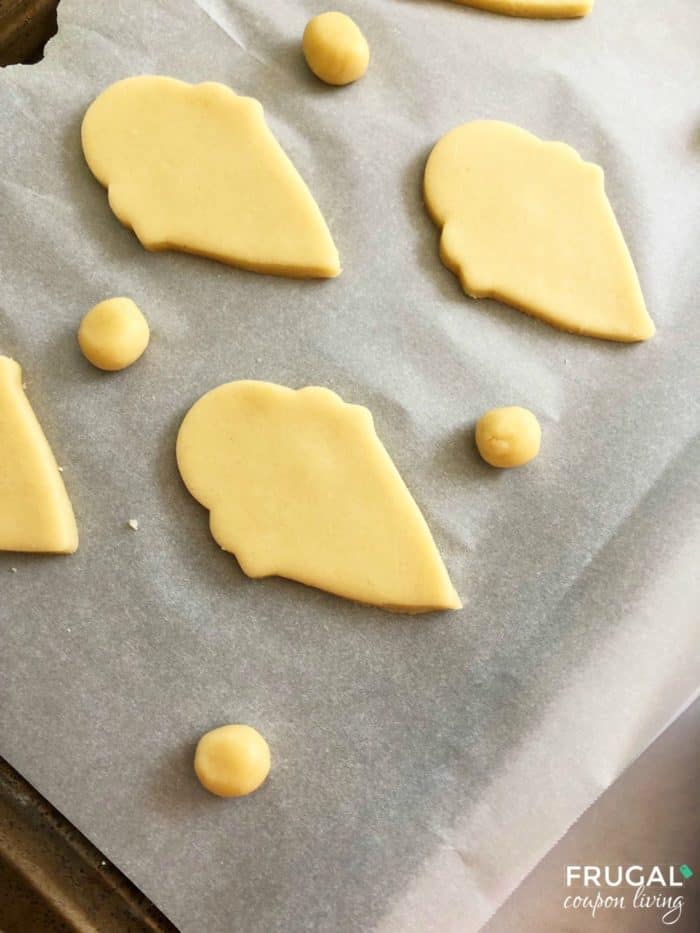
- Roll out your dough onto a lightly floured surface and use your ice cream cone cookie cutter to cut out your gnome shapes.
- Also form several small nickle sized pieces of dough into balls, lightly press down and place onto your cookie sheet. (As seen below.)
- Bake for 13 minutes and let cool.
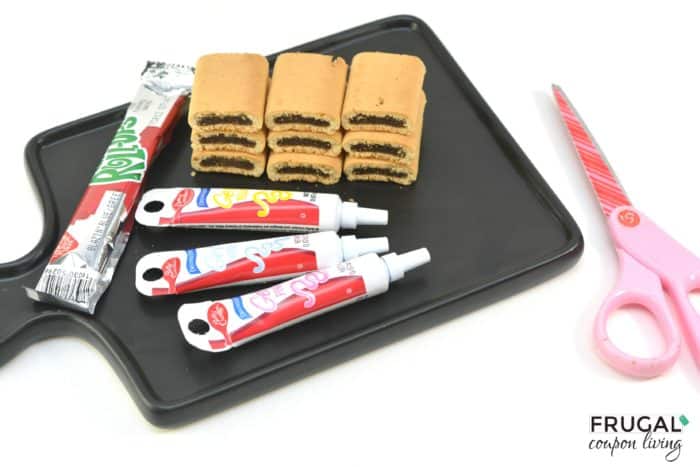
- In 3 separate small microwave safe bowl‘s, heat your blue, red, and white candy melts on 50% power for 3 to 4 minutes, stirring every 30 seconds until melted.
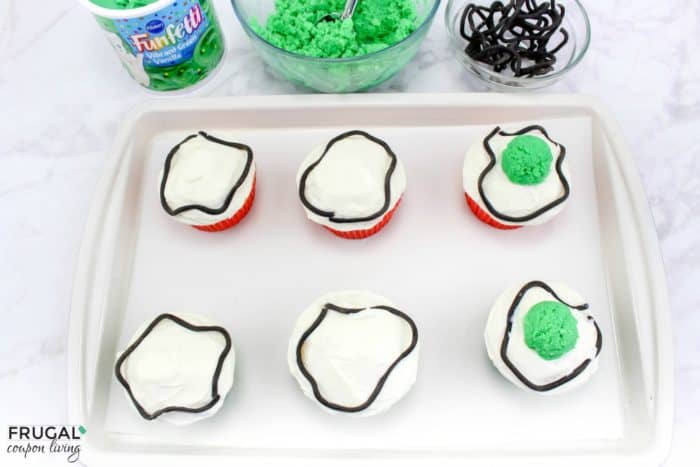
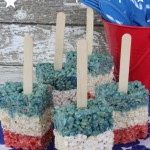
- Dunk the top point of your cookies into your melted blue or red chocolate smooth out with a spoon and place onto a piece of parchment paper to harden.
- Scoop your white melted candy into a decorating bag and use it to stick the nose and marshmallows onto the face part of the cookie.
- Let harden and enjoy!

Gnome Cookies
- Yield: 10 1x
Description
Gnome Cookies – Inspired by Gnomeo & Juliet, this Gnomes Garden Craft is fun for a party or afternoon kids food craft for the kids! Enjoy.
Ingredients
- 1/2 cup salted butter, softened
- 1/2 cup granulated sugar
- 1 teaspoon almond extract
- 1 egg
- 1 2/3 cups flour
- 1 Tablespoon milk
- 1 cup red candy melts
- 1 cup blue candy melts
- 1 cup white candy melts
- Miniature marshmallows
- Decorating bag
Instructions
- Preheat your oven to 325° and line a baking sheet with parchment paper.
- In a large mixing bowl, beat together your butter and sugar until light and fluffy.
- Now mix in your egg and almond extract.
- Then mix in your flour and milk.
- Form your dough into a large ball and roll into flour if it’s still a little sticky.
- Roll out your dough onto a lightly floured surface and use your ice cream cone cookie cutter to cut out your gnome shapes.
- Also form several small nickle sized pieces of dough into balls, lightly press down and place onto your cookie sheet.
- Bake for 13 minutes and let cool.
- In 3 separate small microwave safe bowl‘s, heat your blue, red, and white candy melts on 50% power for 3 to 4 minutes, stirring every 30 seconds until melted.
- Dunk the top point of your cookies into your melted blue or red chocolate smooth out with a spoon and place onto a piece of parchment paper to harden.
- Scoop your white melted candy into a decorating bag and use it to stick the nose and marshmallows onto the face part of the cookie.
- Let harden and enjoy!

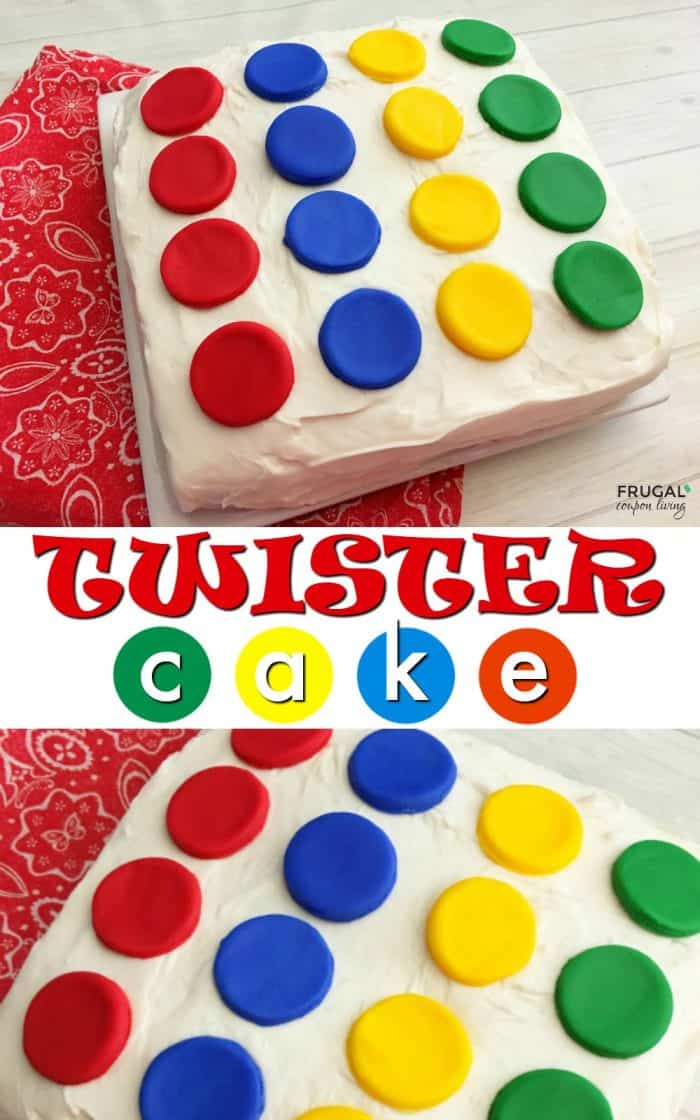
We think you might also enjoy our Twister Cake! Pin to Pinterest. This goes great with Family Game Night!
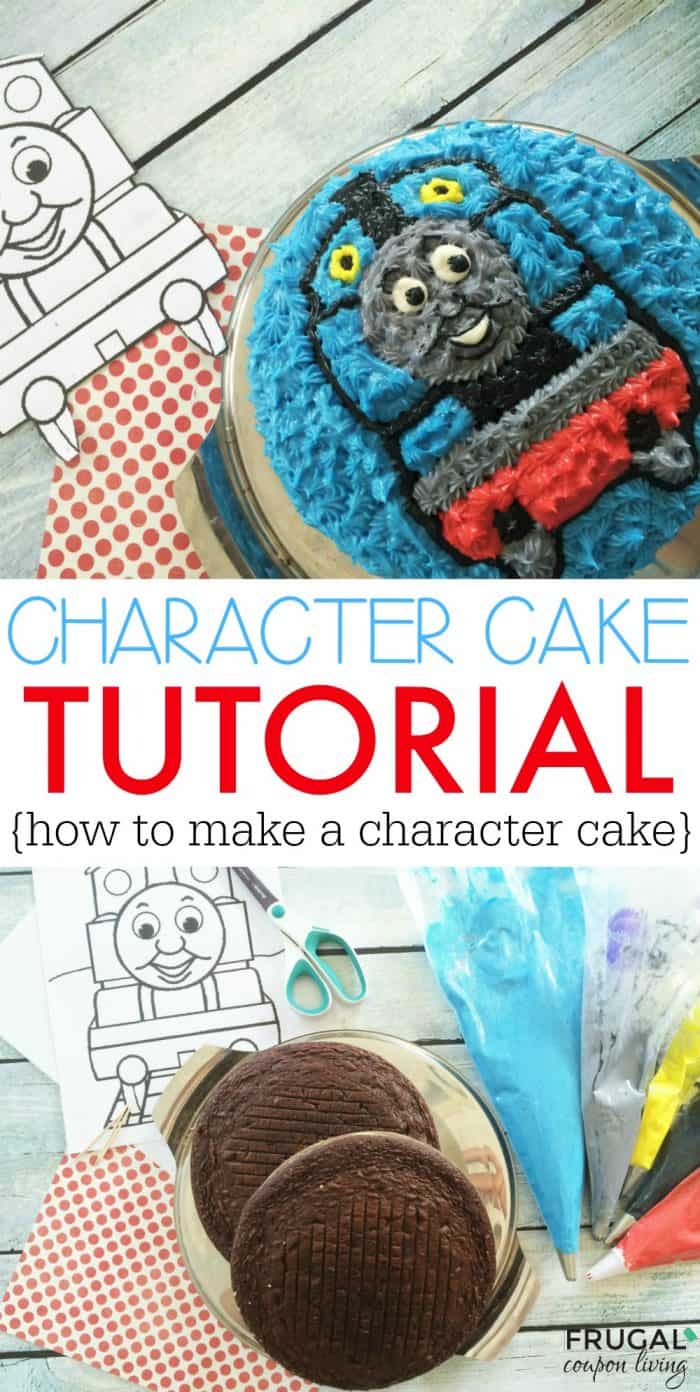
Also enjoy our Character Cake Tutorial (use with Thomas or any character!) Pin to Pinterest.

WHAT’S TRENDING? Looking for a few engaging activities? Grab Minute to Win it Games – Traditional, Holiday, Group, and more! Use these fun activities in the office, classroom, or at your next birthday party.