Halloween Mummy Hot Dogs using Crescent Rolls and cheese (our secret ingredient!). These make a yummy Halloween Dinner.
Mummy Hot Dogs for Halloween
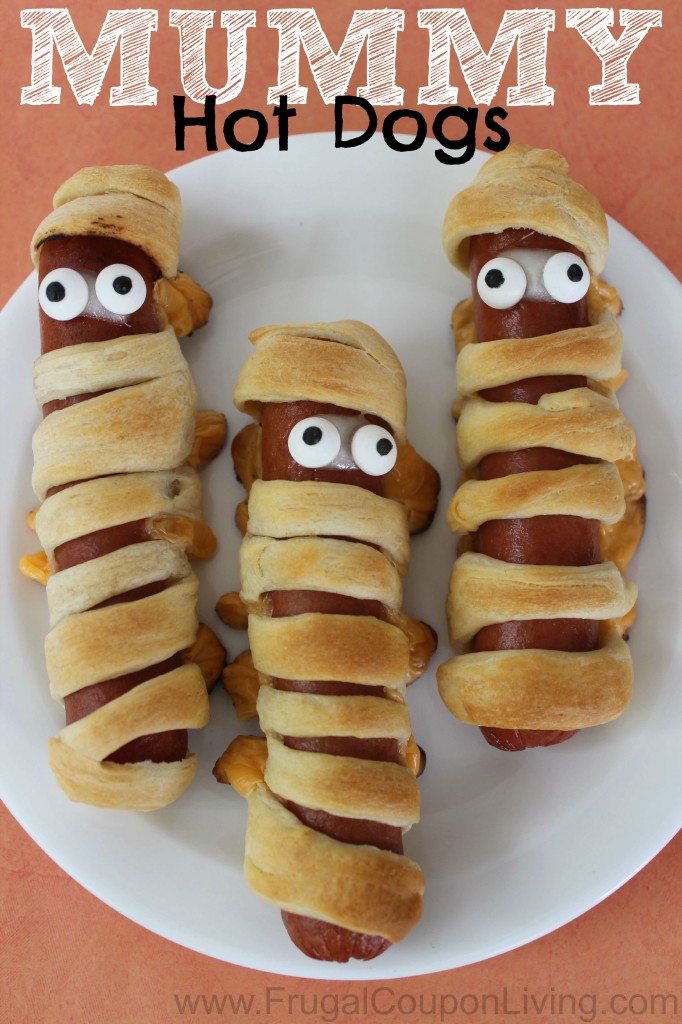

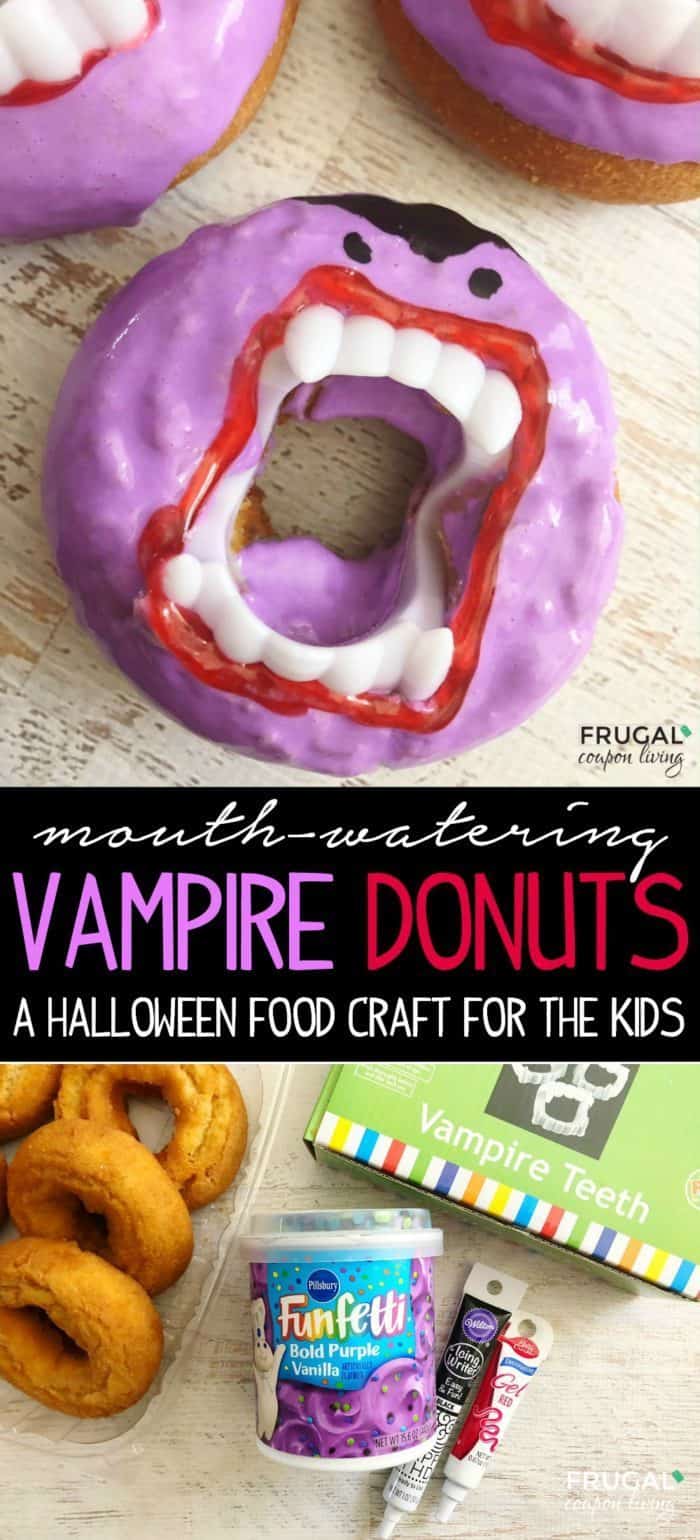
Every Halloween Party needs a silly Mummy – this Mummy Hot Dog Recipe is a fun kitchen food craft for the kids and will be a party favorite. Our secret ingredient – that makes this different form others online is the cheese! Make sure you add American Cheese Slices – yummy. For Breakfast, make sure to serve these tasty Dracula Vampire Halloween Donuts!
Also check out our fun Halloween Food Crafts for Kids. If hosting a party, you will want to serve to serve drink with these Halloween Shocktail Bottle Labels (they are FREE!).
Ingredients:
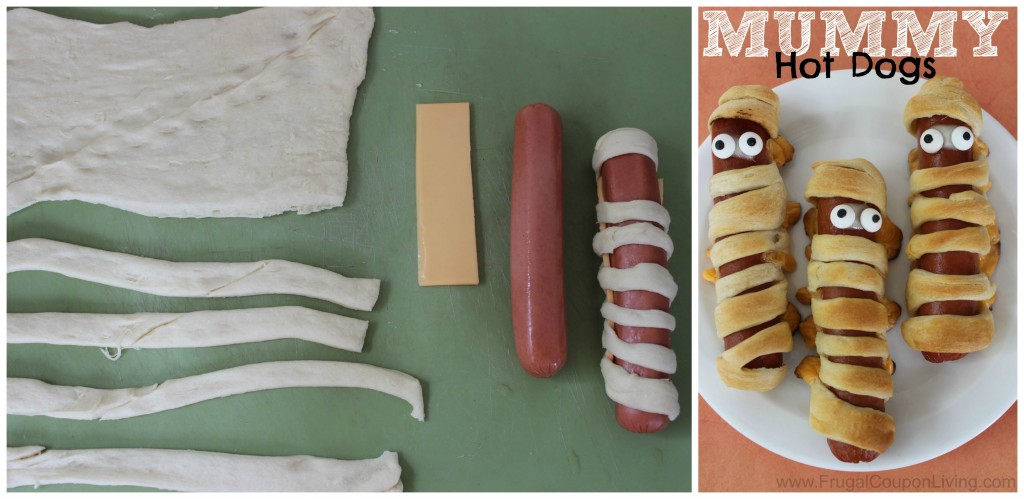
- 1 can Crescent Roll Dough
- 2 American Cheese slices
- 8 Hot Dogs
- 16 Candy Eyes
- Cooking spray

Halloween Mummy Hot Dogs with Crescent Rolls and Cheese
Ingredients
- 1 can Crescent Roll Dough
- 2 American Cheese slices
- 8 Hot Dogs
- 16 Candy Eyes
- Cooking spray
Instructions
Directions:
- Preheat oven to 375.
- Cut each cheese slice into 4 strips.
- Unroll dough and separate into 4 rectangles (crimp diagonal cuts in each one together).
- Cut each rectangle lengthwise into 1/2″ strips and join 2 together to form one long “bandage”.
- 10 pieces, making a total of 40 pieces of dough. Slice cheese slices into quarters (1/2 slice cheese, cut in half).
- Wrap “bandage” of dough around each hot dog and 1/4 slice of cheese.
- Make sure to leave a gap for face.
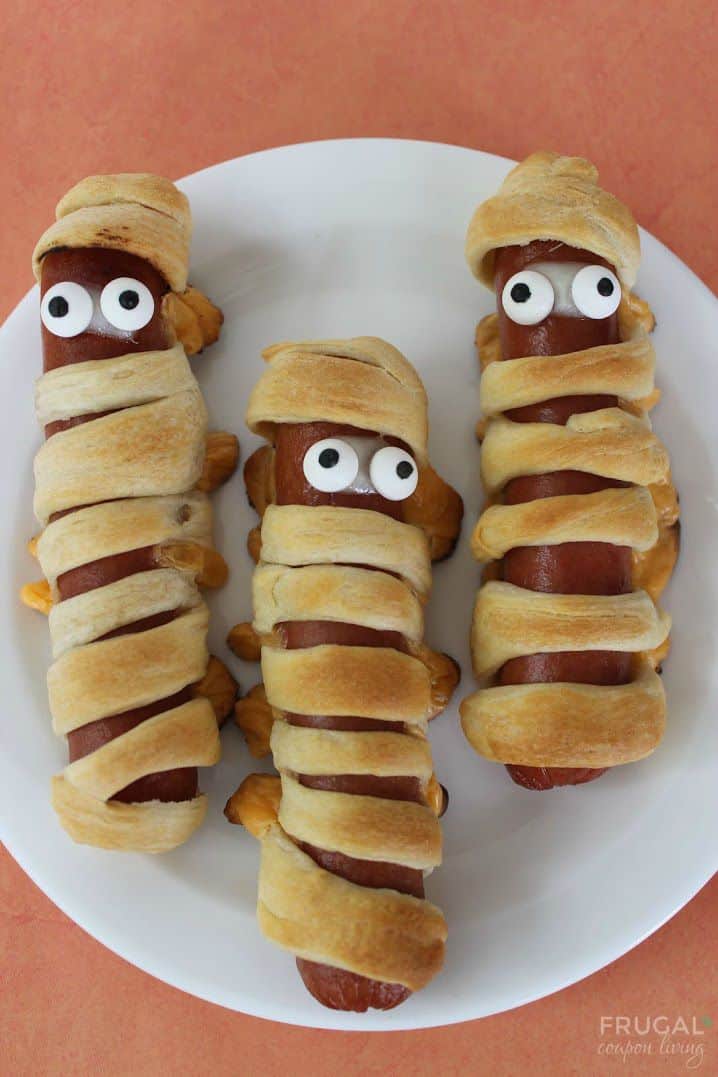
- Place wrapped hot dogs (cheese side down) on non stick cookie sheet and lightly spray with cooking spray.
- Bake 15 minutes or until dough is lightly brown.
- Place a small piece of cheese where eyes go and place in oven to melt slightly.
- Place 2 eyes on each mummy.
Directions:
- Preheat oven to 375.
- Cut each cheese slice into 4 strips.
- Unroll dough and separate into 4 rectangles (crimp diagonal cuts in each one together).
- Cut each rectangle lengthwise into 1/2″ strips and join 2 together to form one long “bandage”.
- 10 pieces, making a total of 40 pieces of dough. Slice cheese slices into quarters (1/2 slice cheese, cut in half).
- Wrap “bandage” of dough around each hot dog and 1/4 slice of cheese.
- Make sure to leave a gap for face.
- Place wrapped hot dogs (cheese side down) on non stick cookie sheet and lightly spray with cooking spray.
- Bake 15 minutes or until dough is lightly brown.
- Place a small piece of cheese where eyes go and place in oven to melt slightly.
- Place 2 eyes on each mummy.

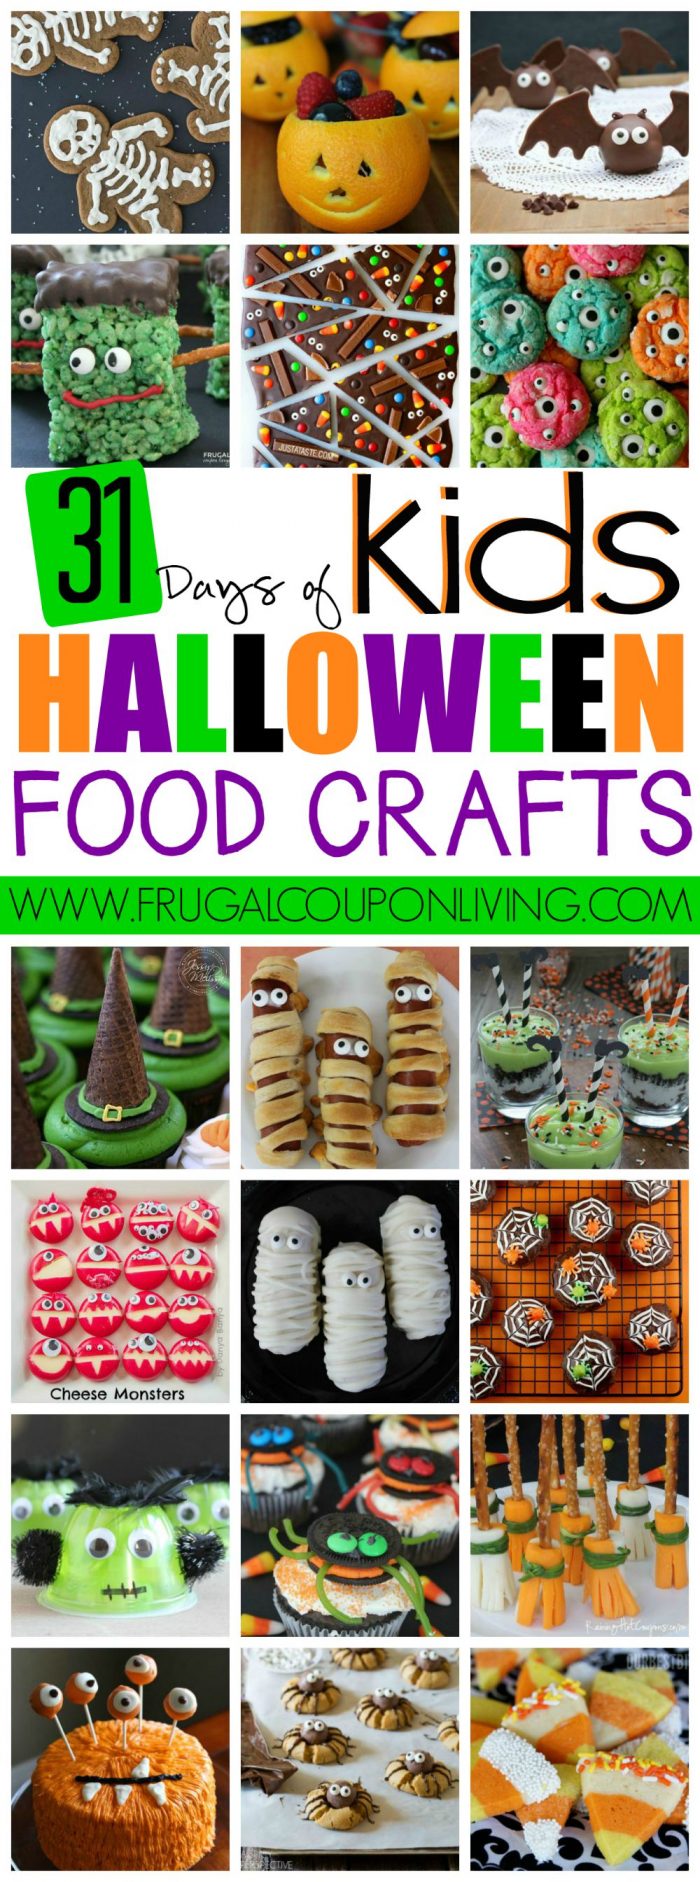
Don’t stop there! Also explore all of our fun Halloween Food Crafts for Kids including more dinner recipes! Make sure you share with others. Pin this collage of recipes to your Halloween and Recipe Pinterest Boards.
Take a look at this tasty Halloween Dessert – a Dracula Vampire Halloween Donuts! It is so easy, you just need some fake Vampire Teeth! Share on Pinterest so others can enjoy.

WHAT’S TRENDING? Looking for a few engaging activities? Grab Minute to Win it Games – Traditional, Holiday, Group, and more! Use these fun activities in the office, classroom, or at your next birthday party.